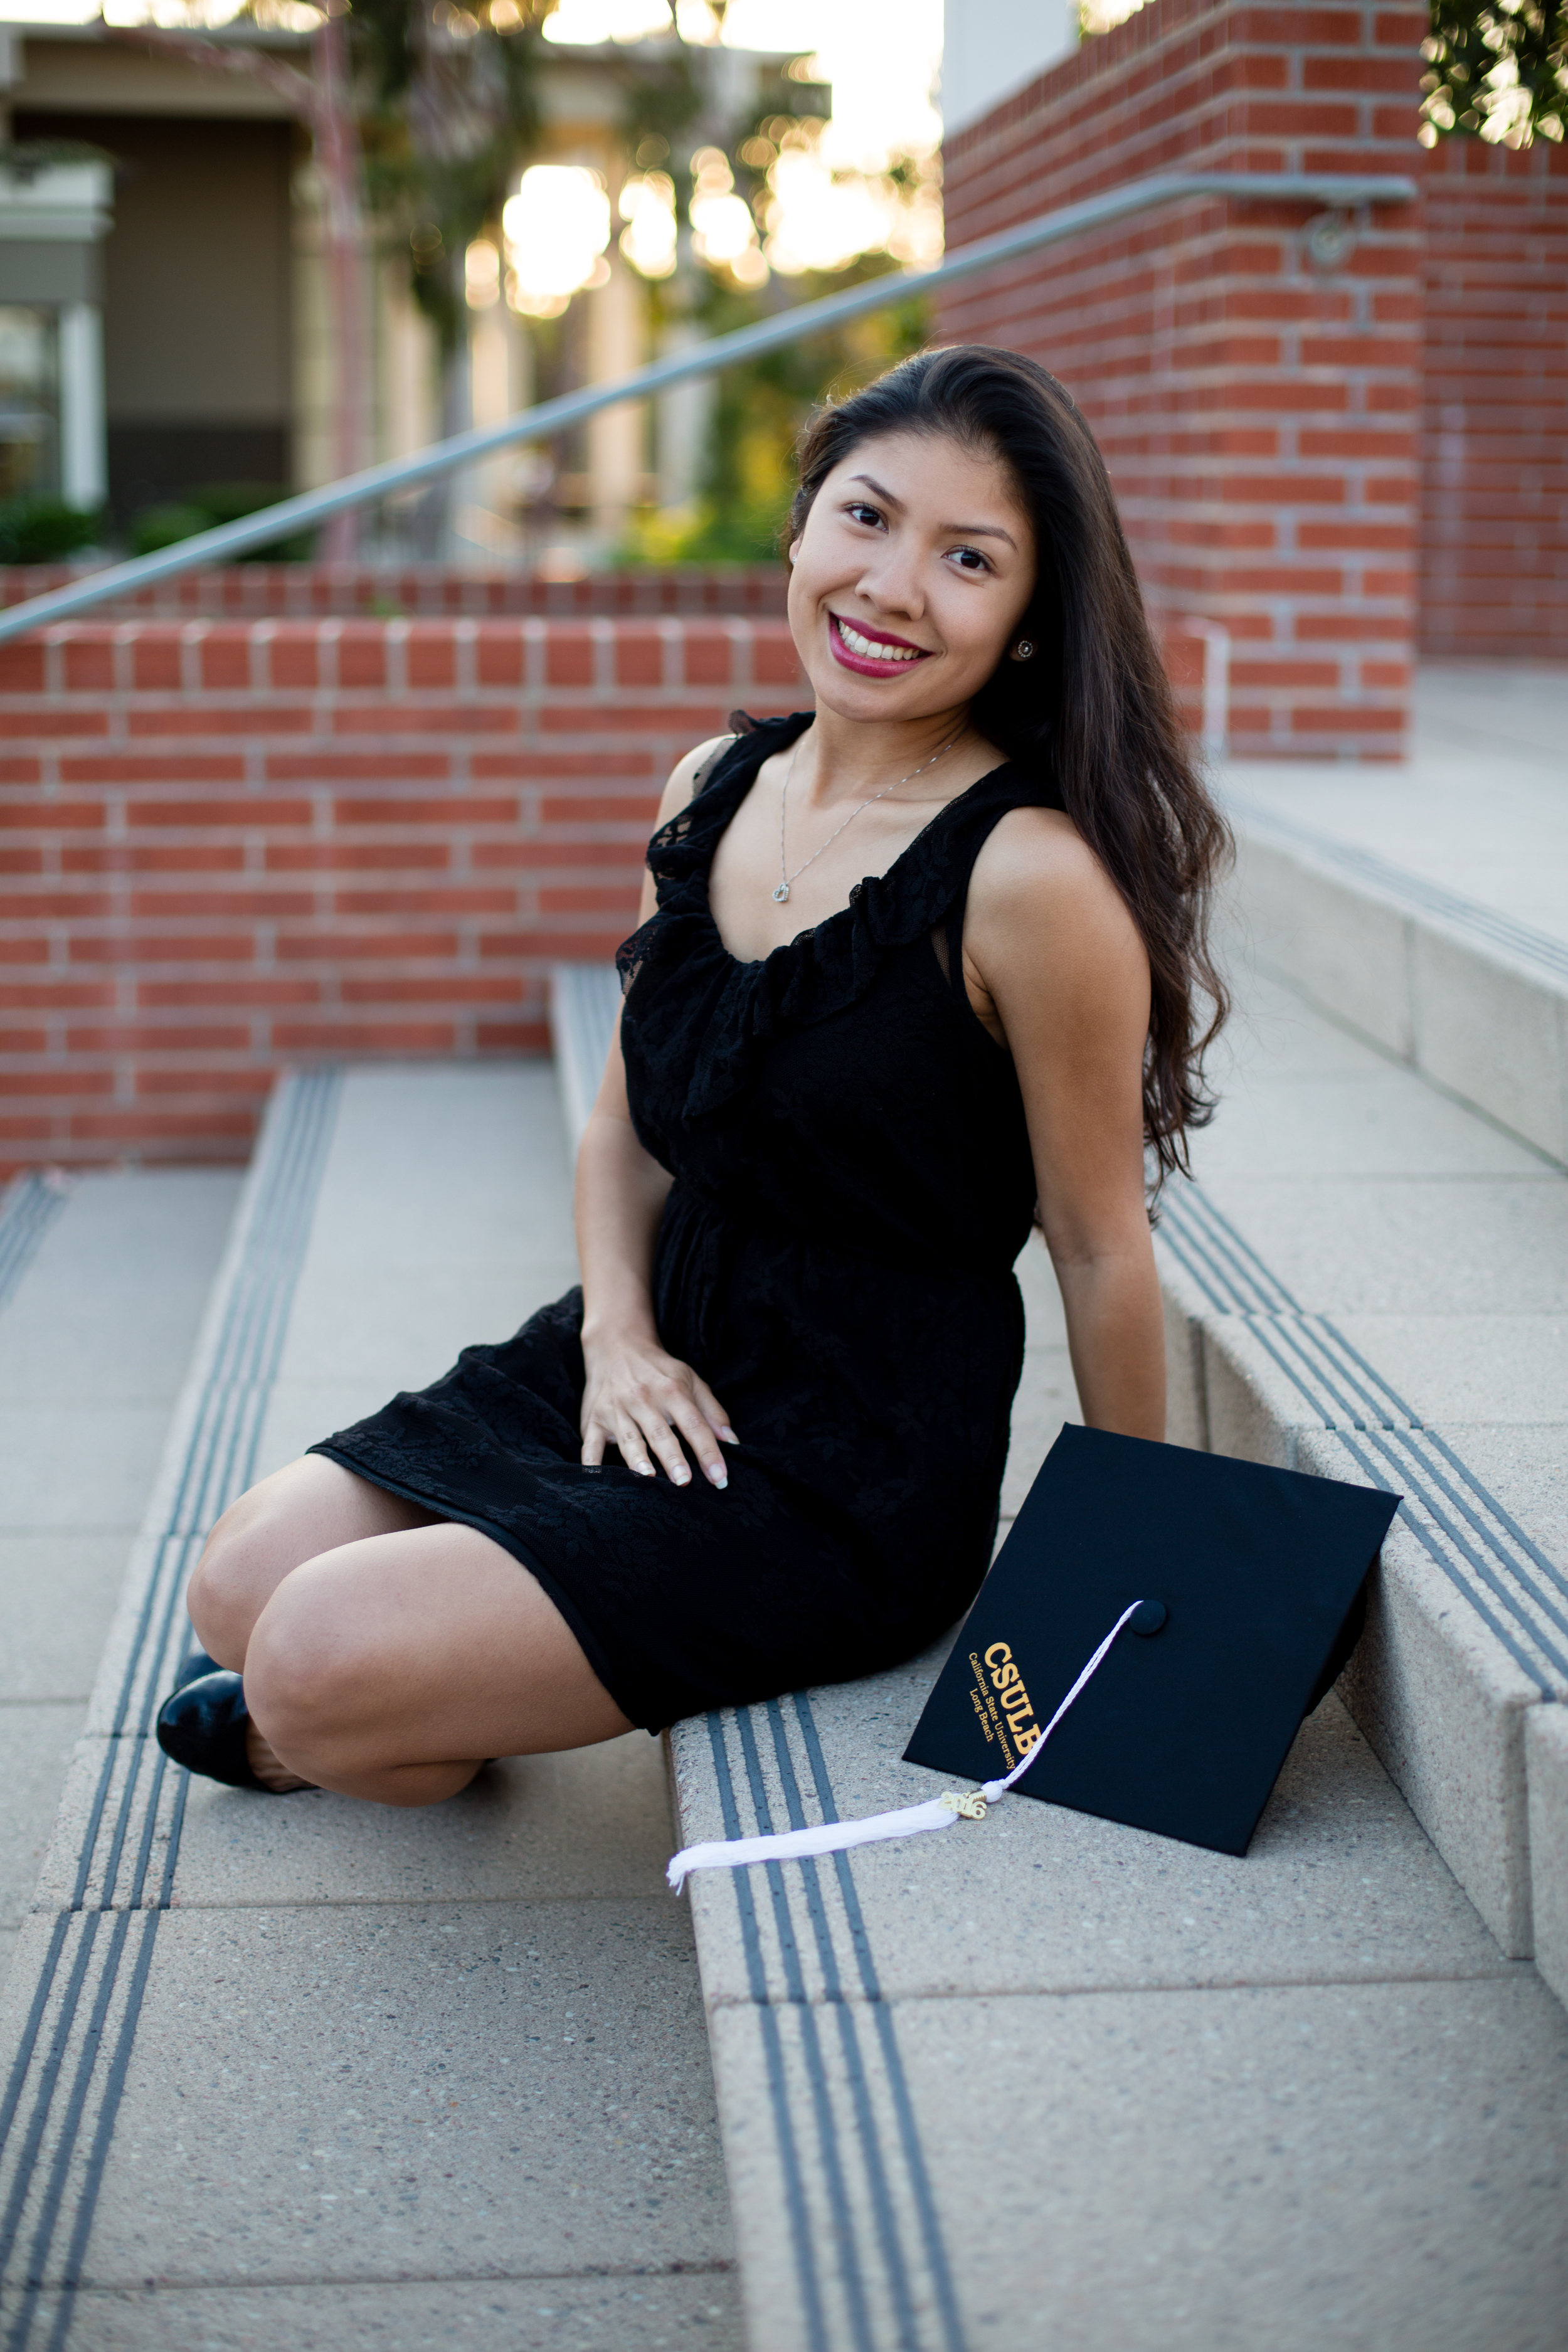
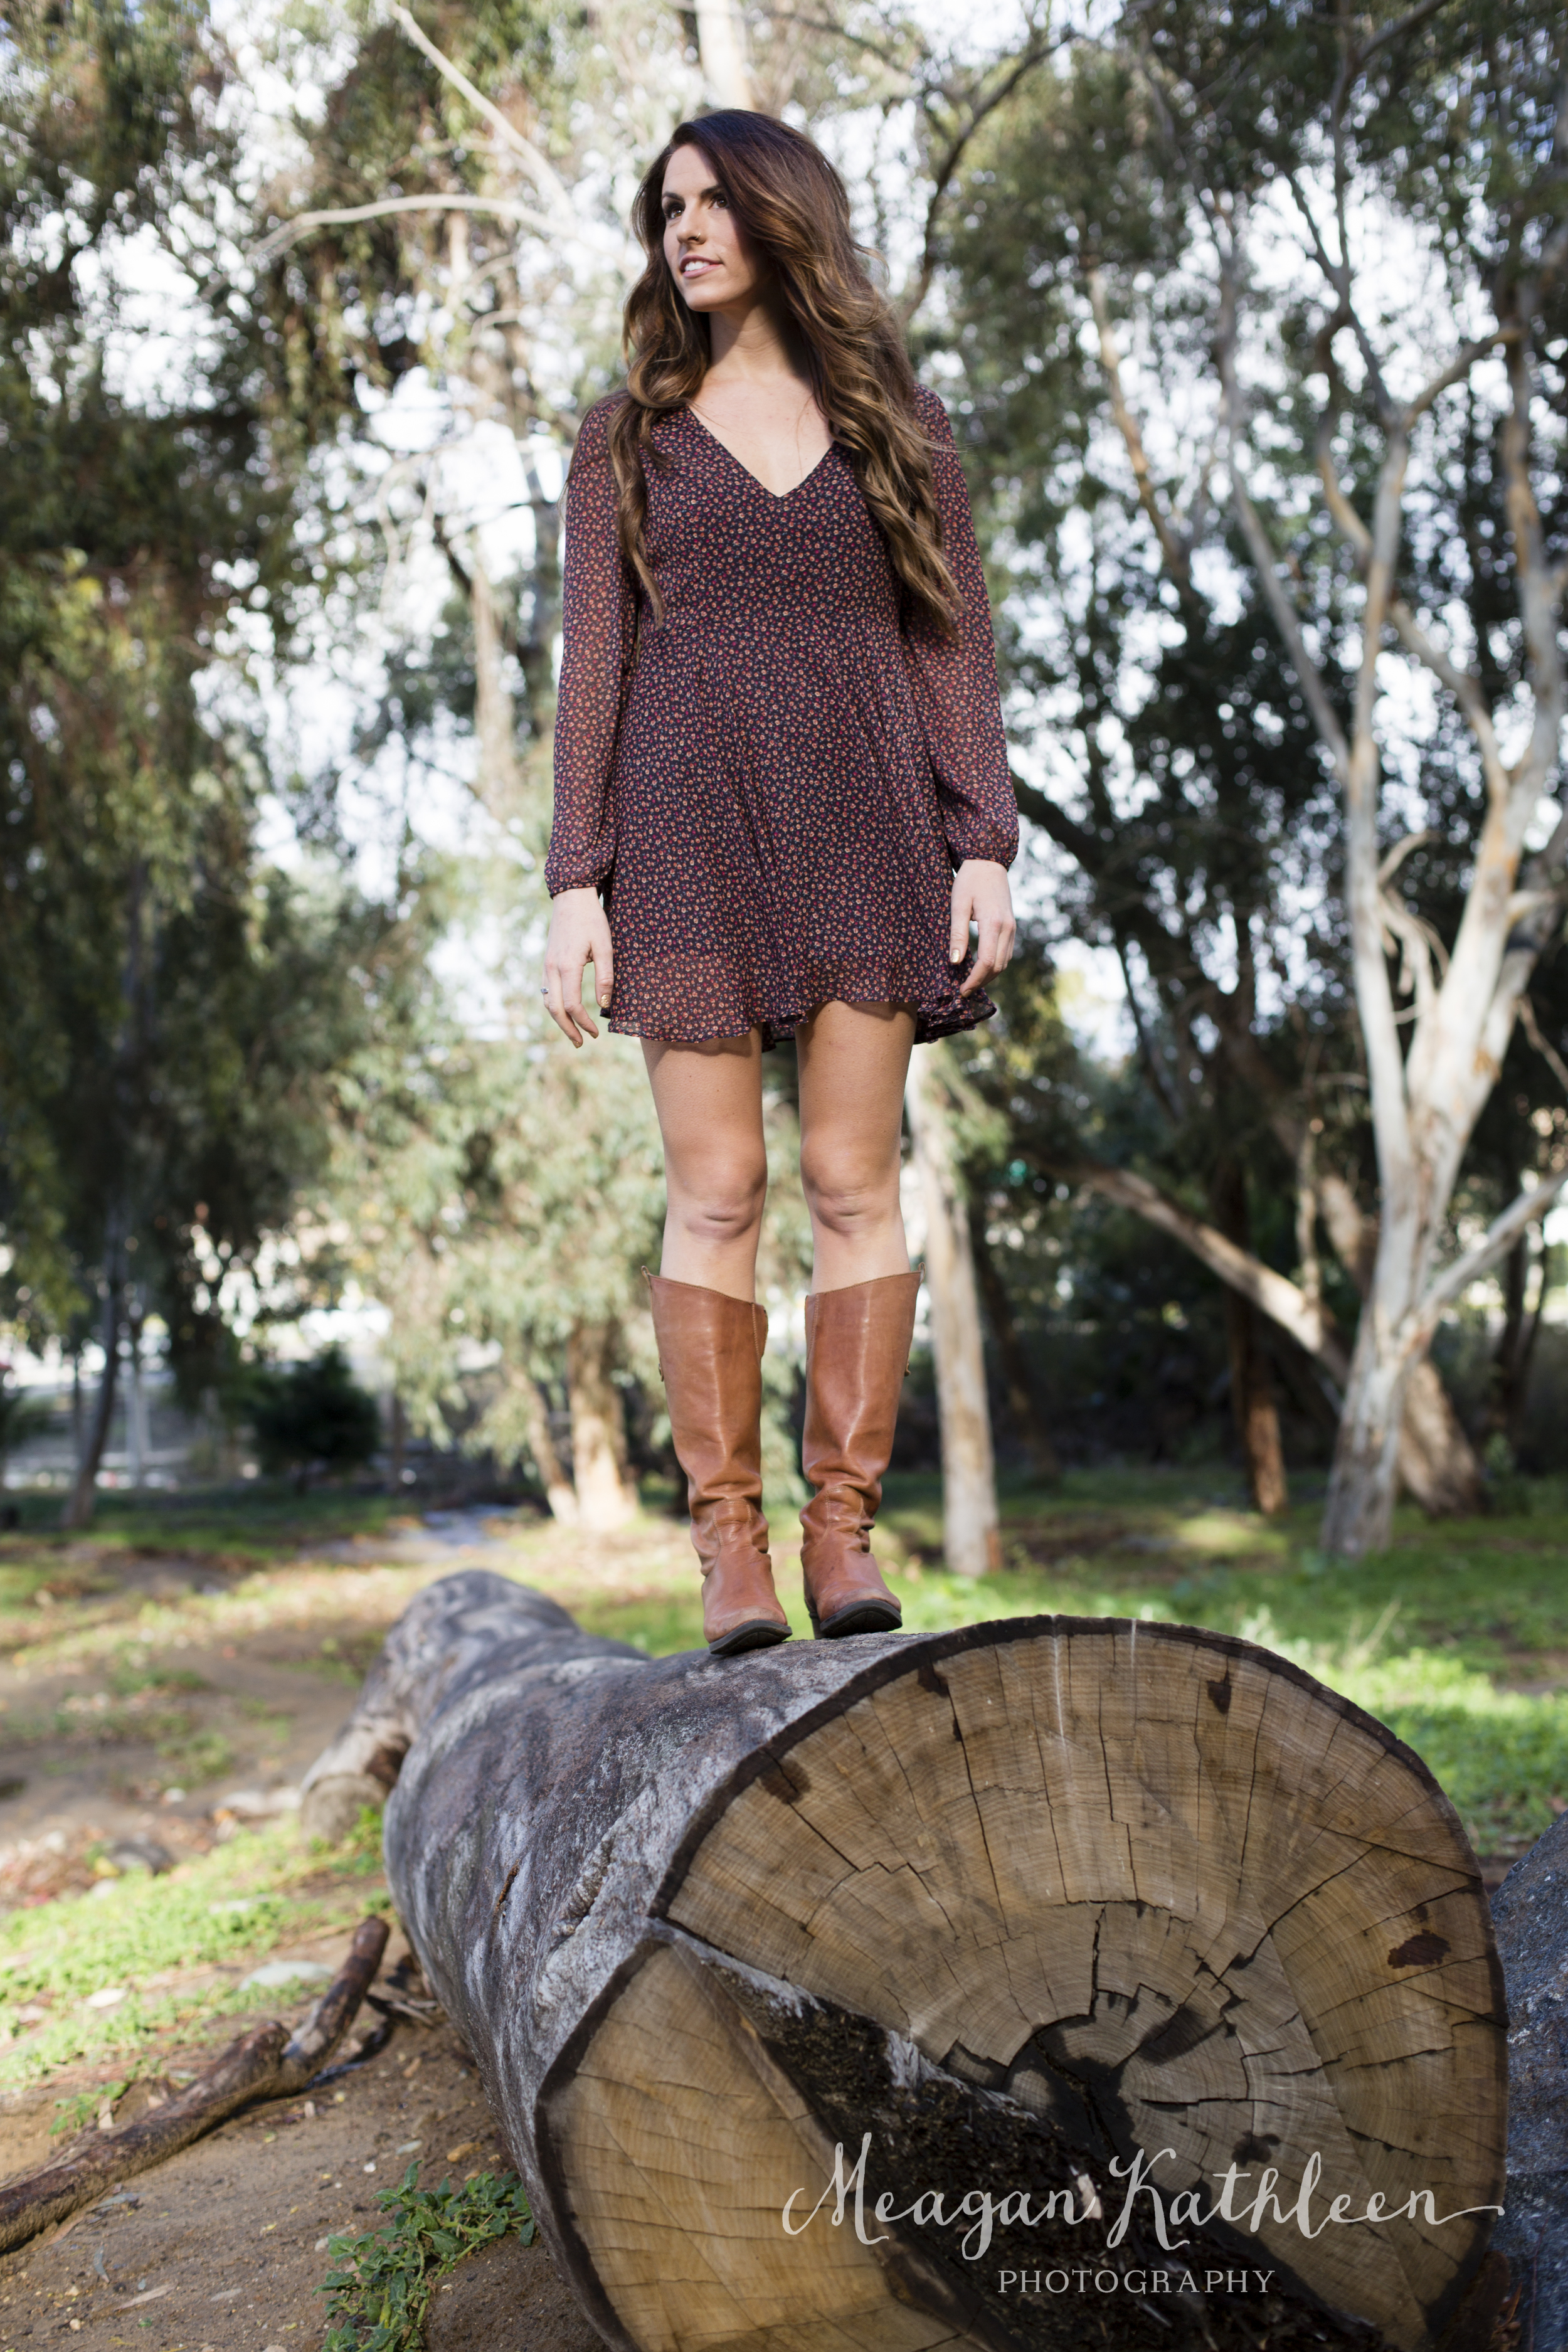
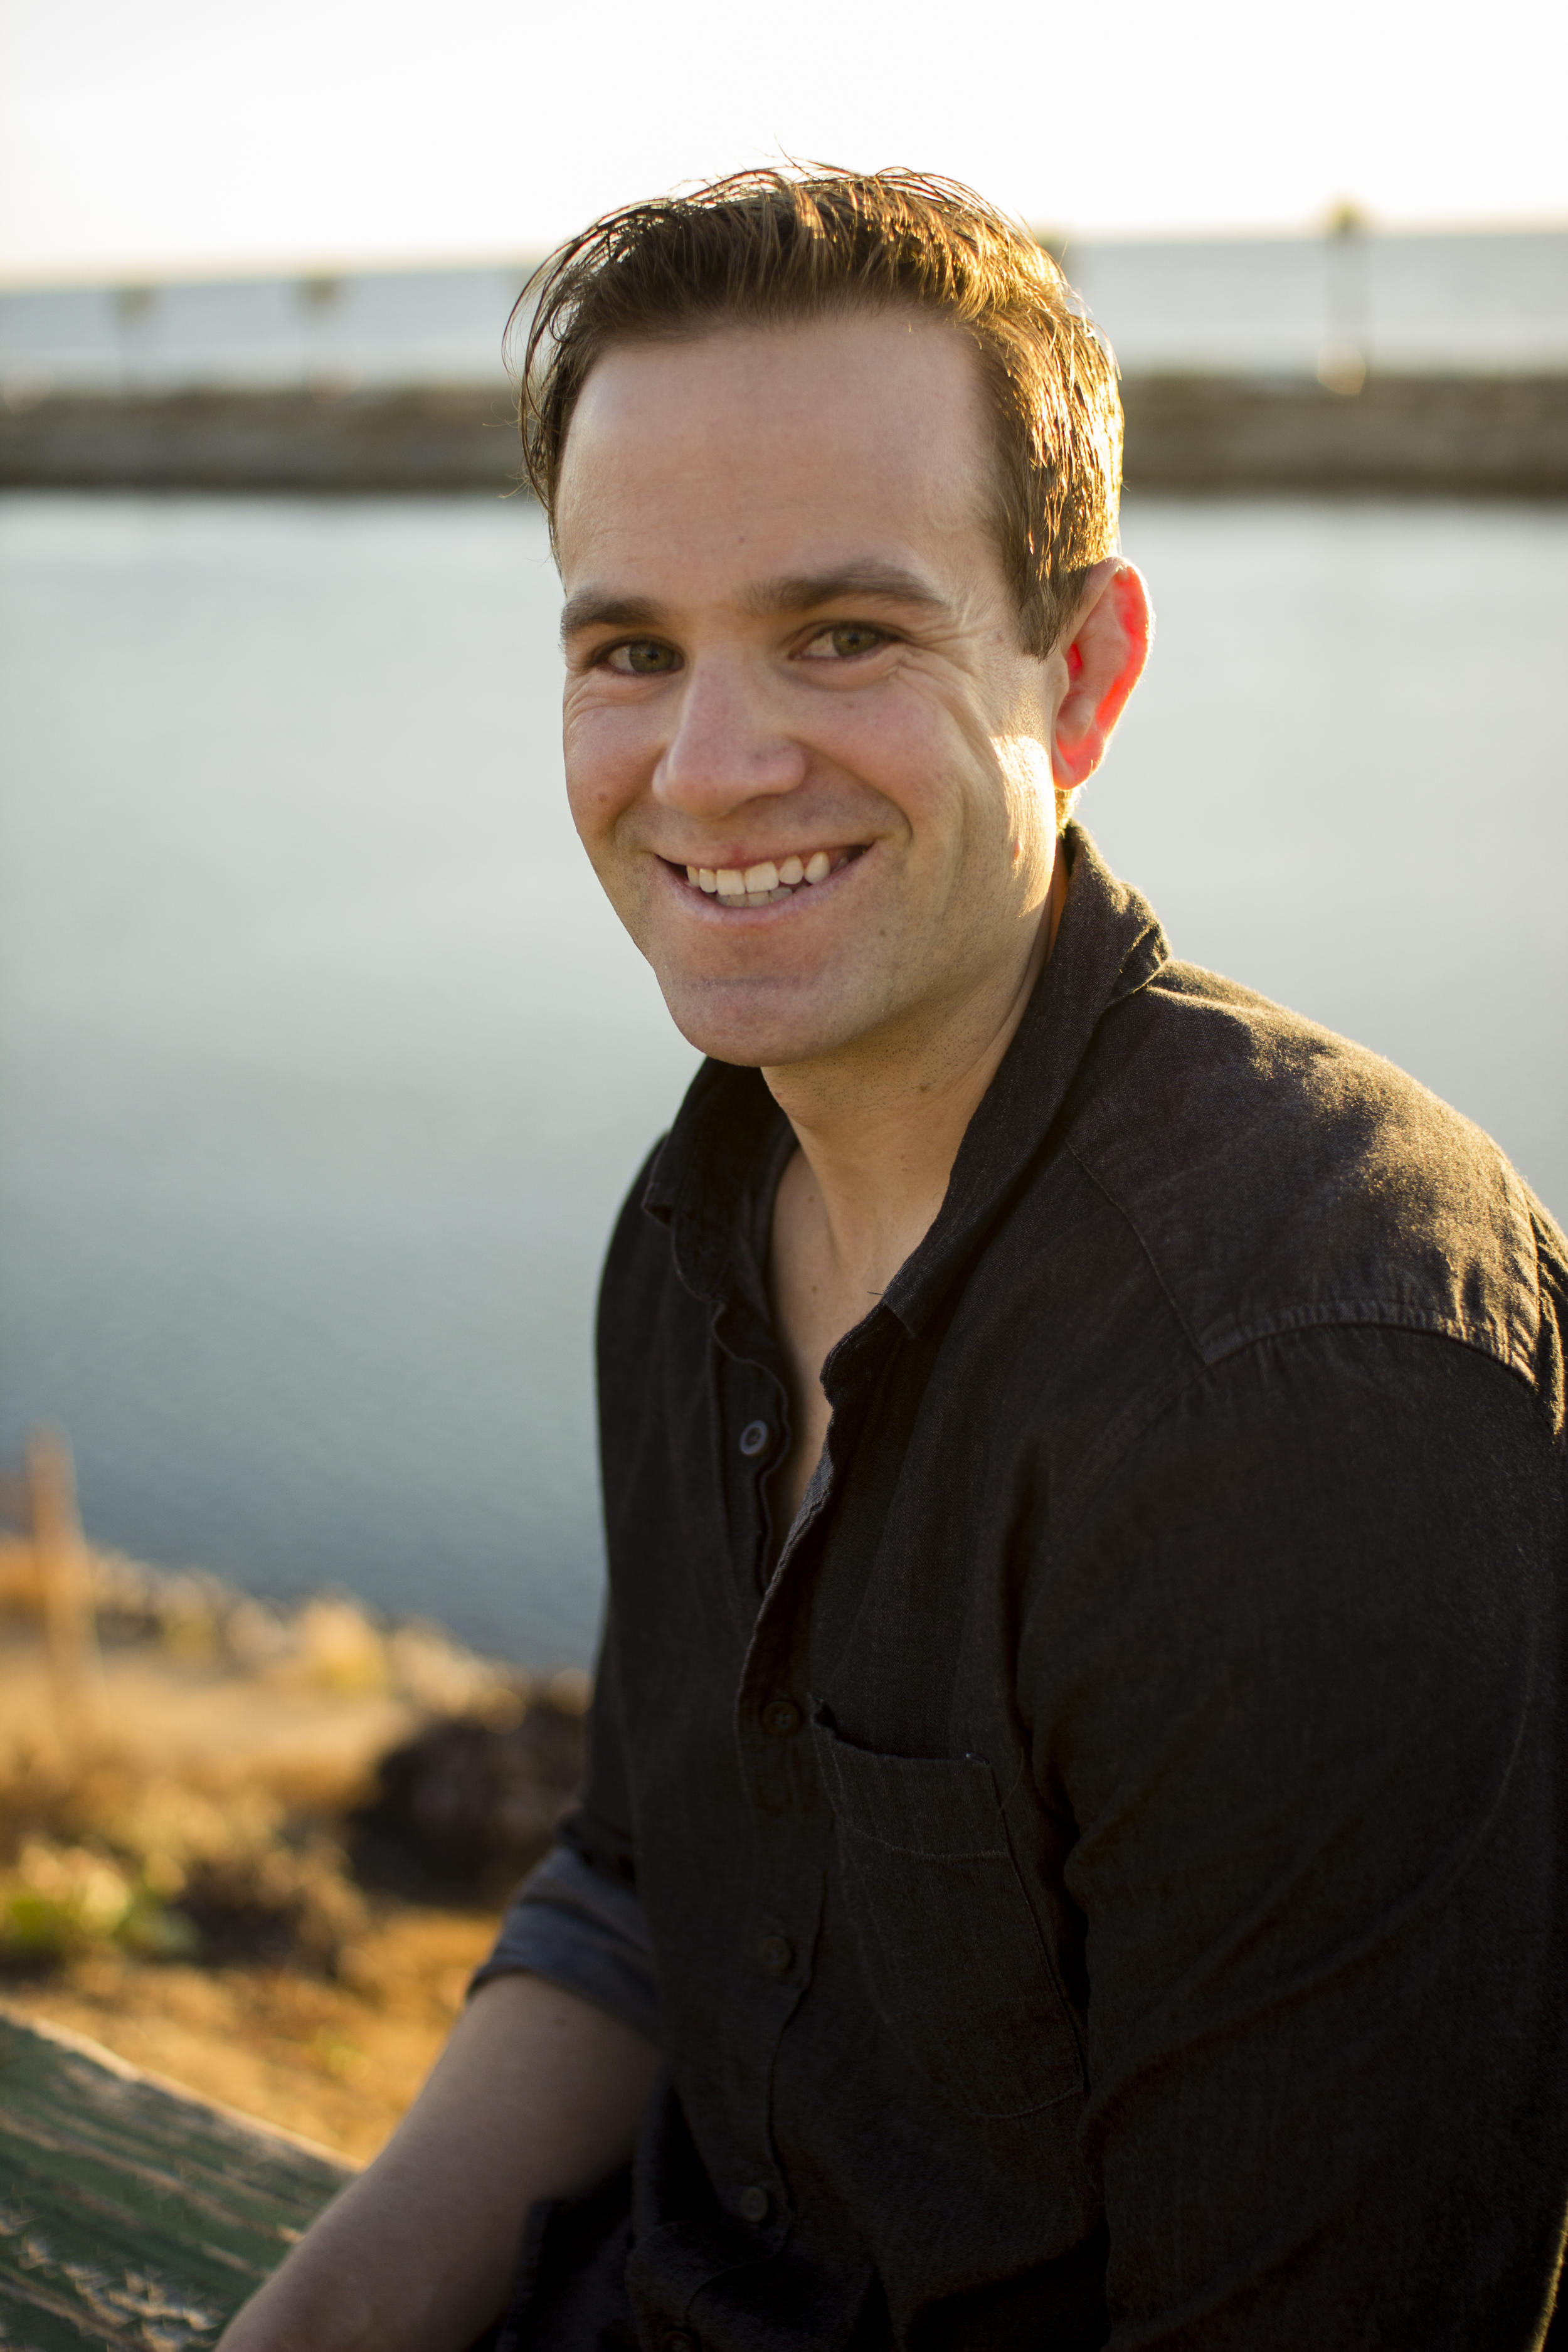
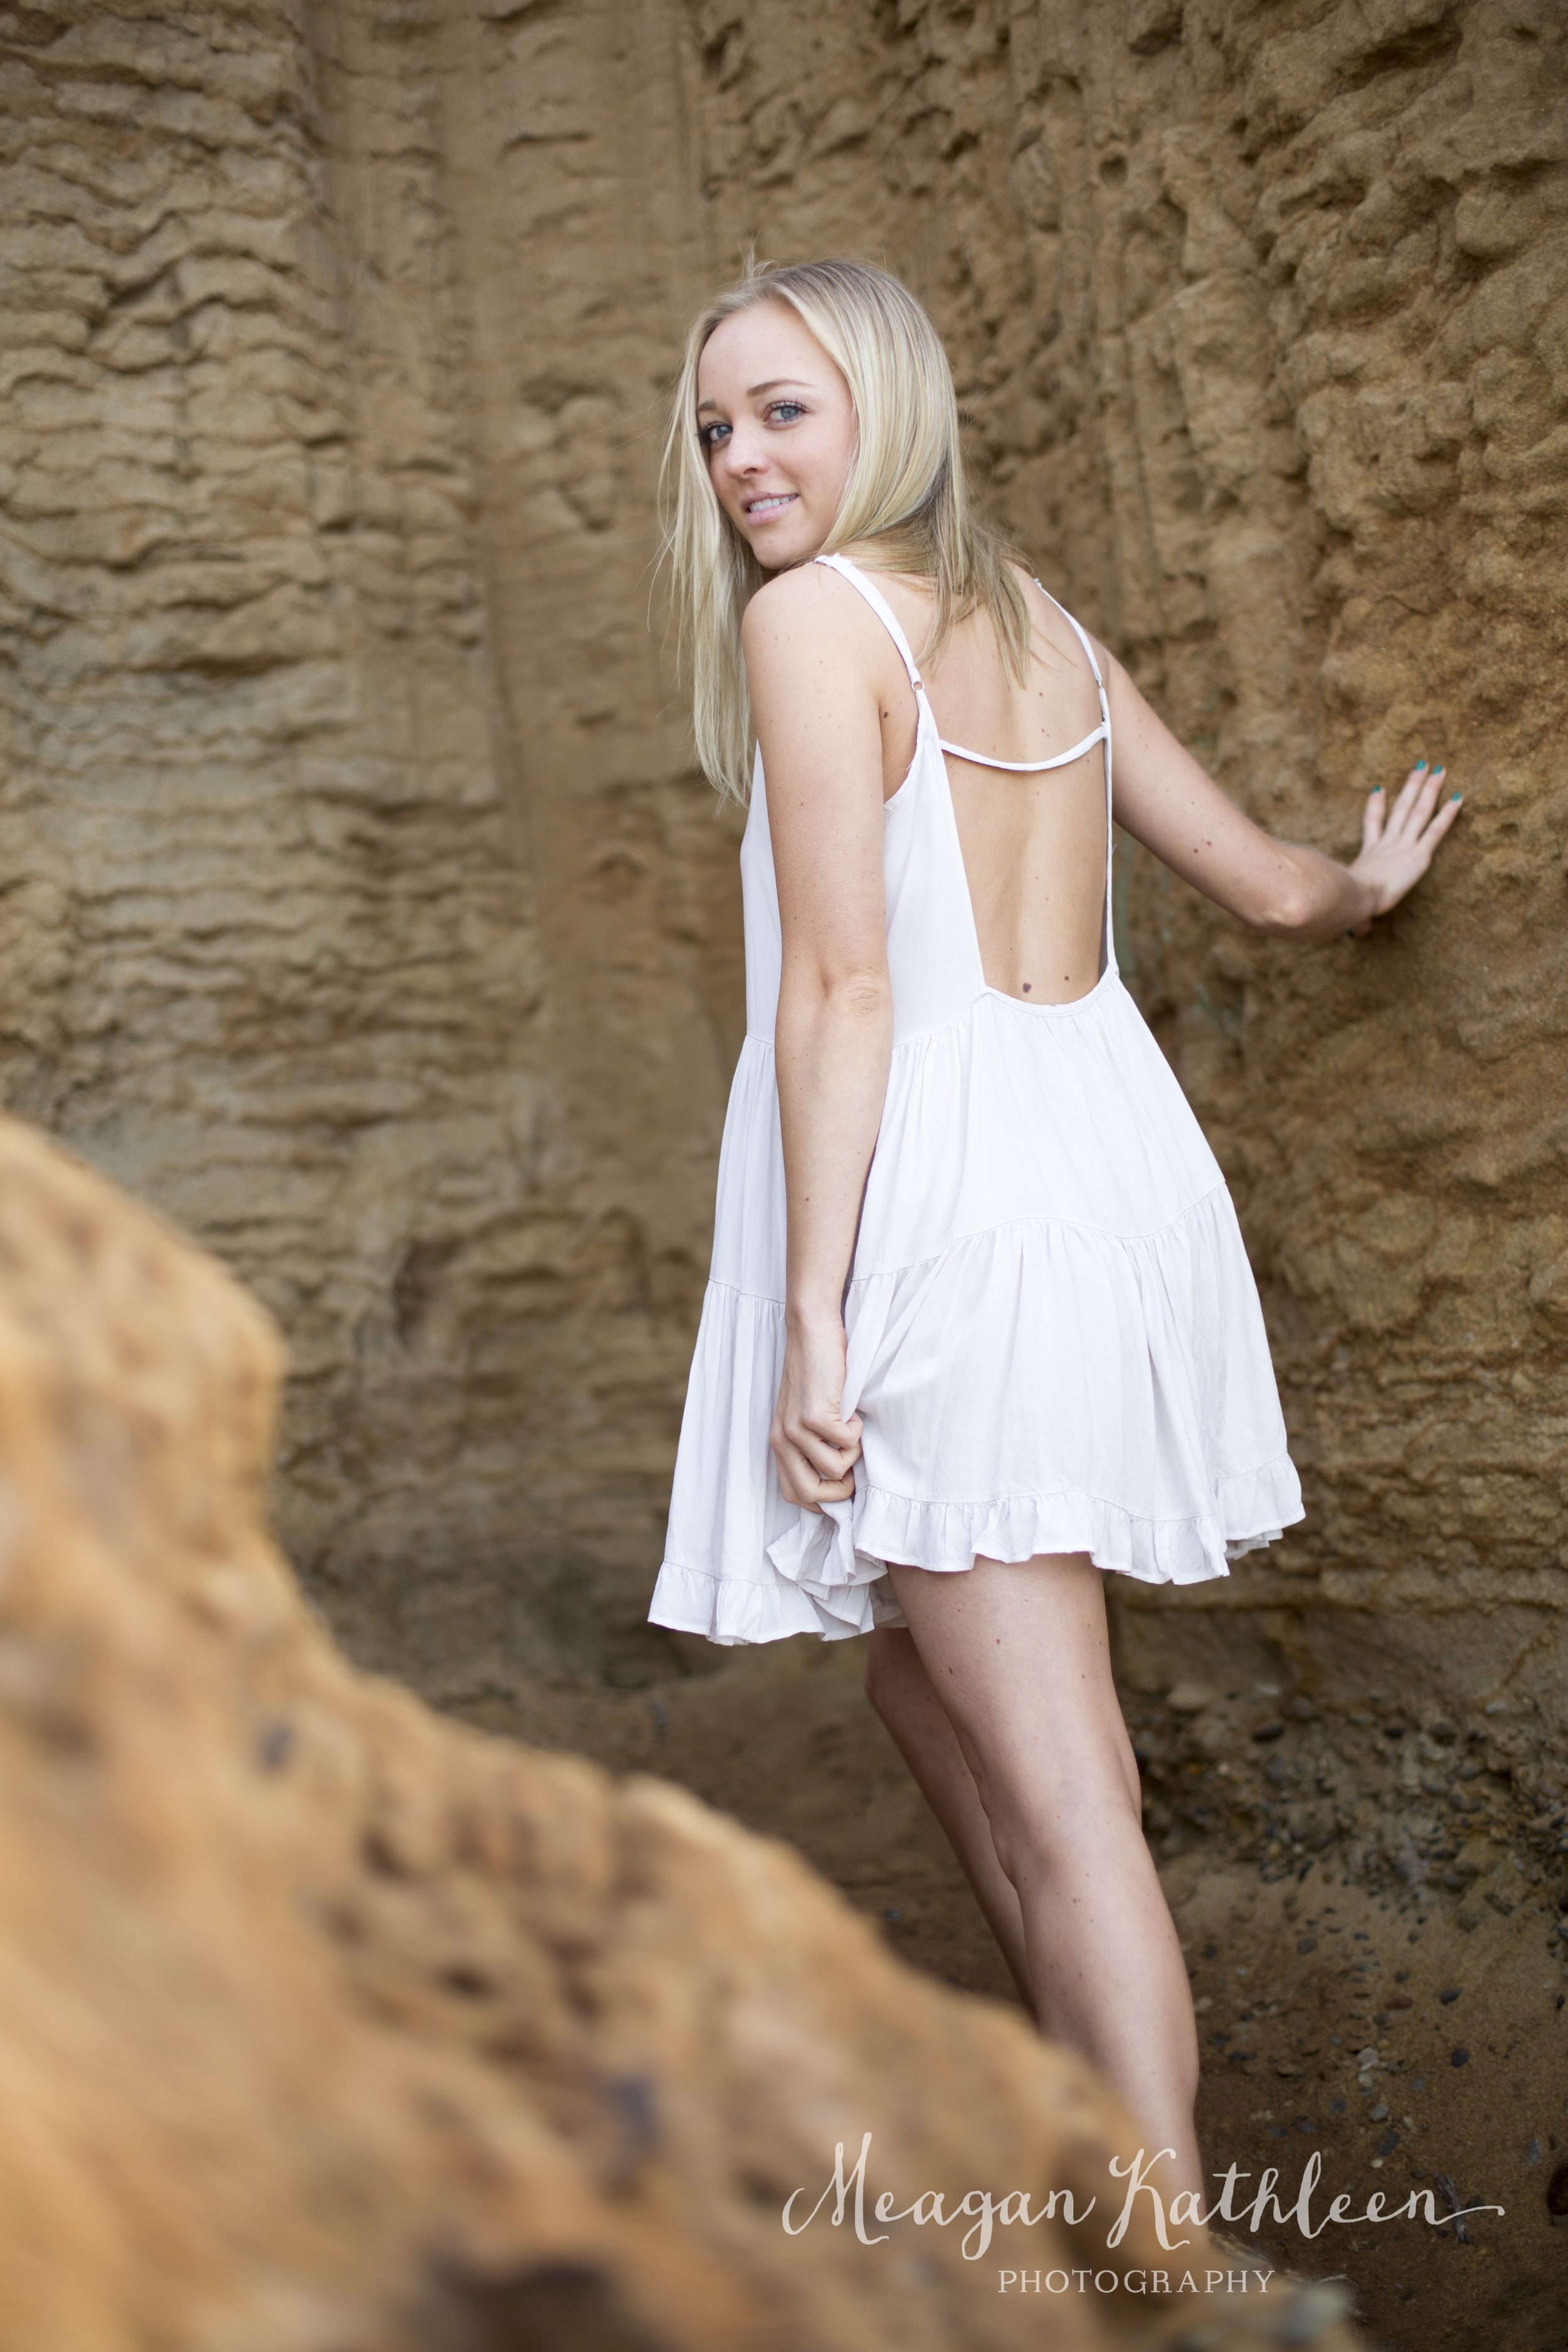
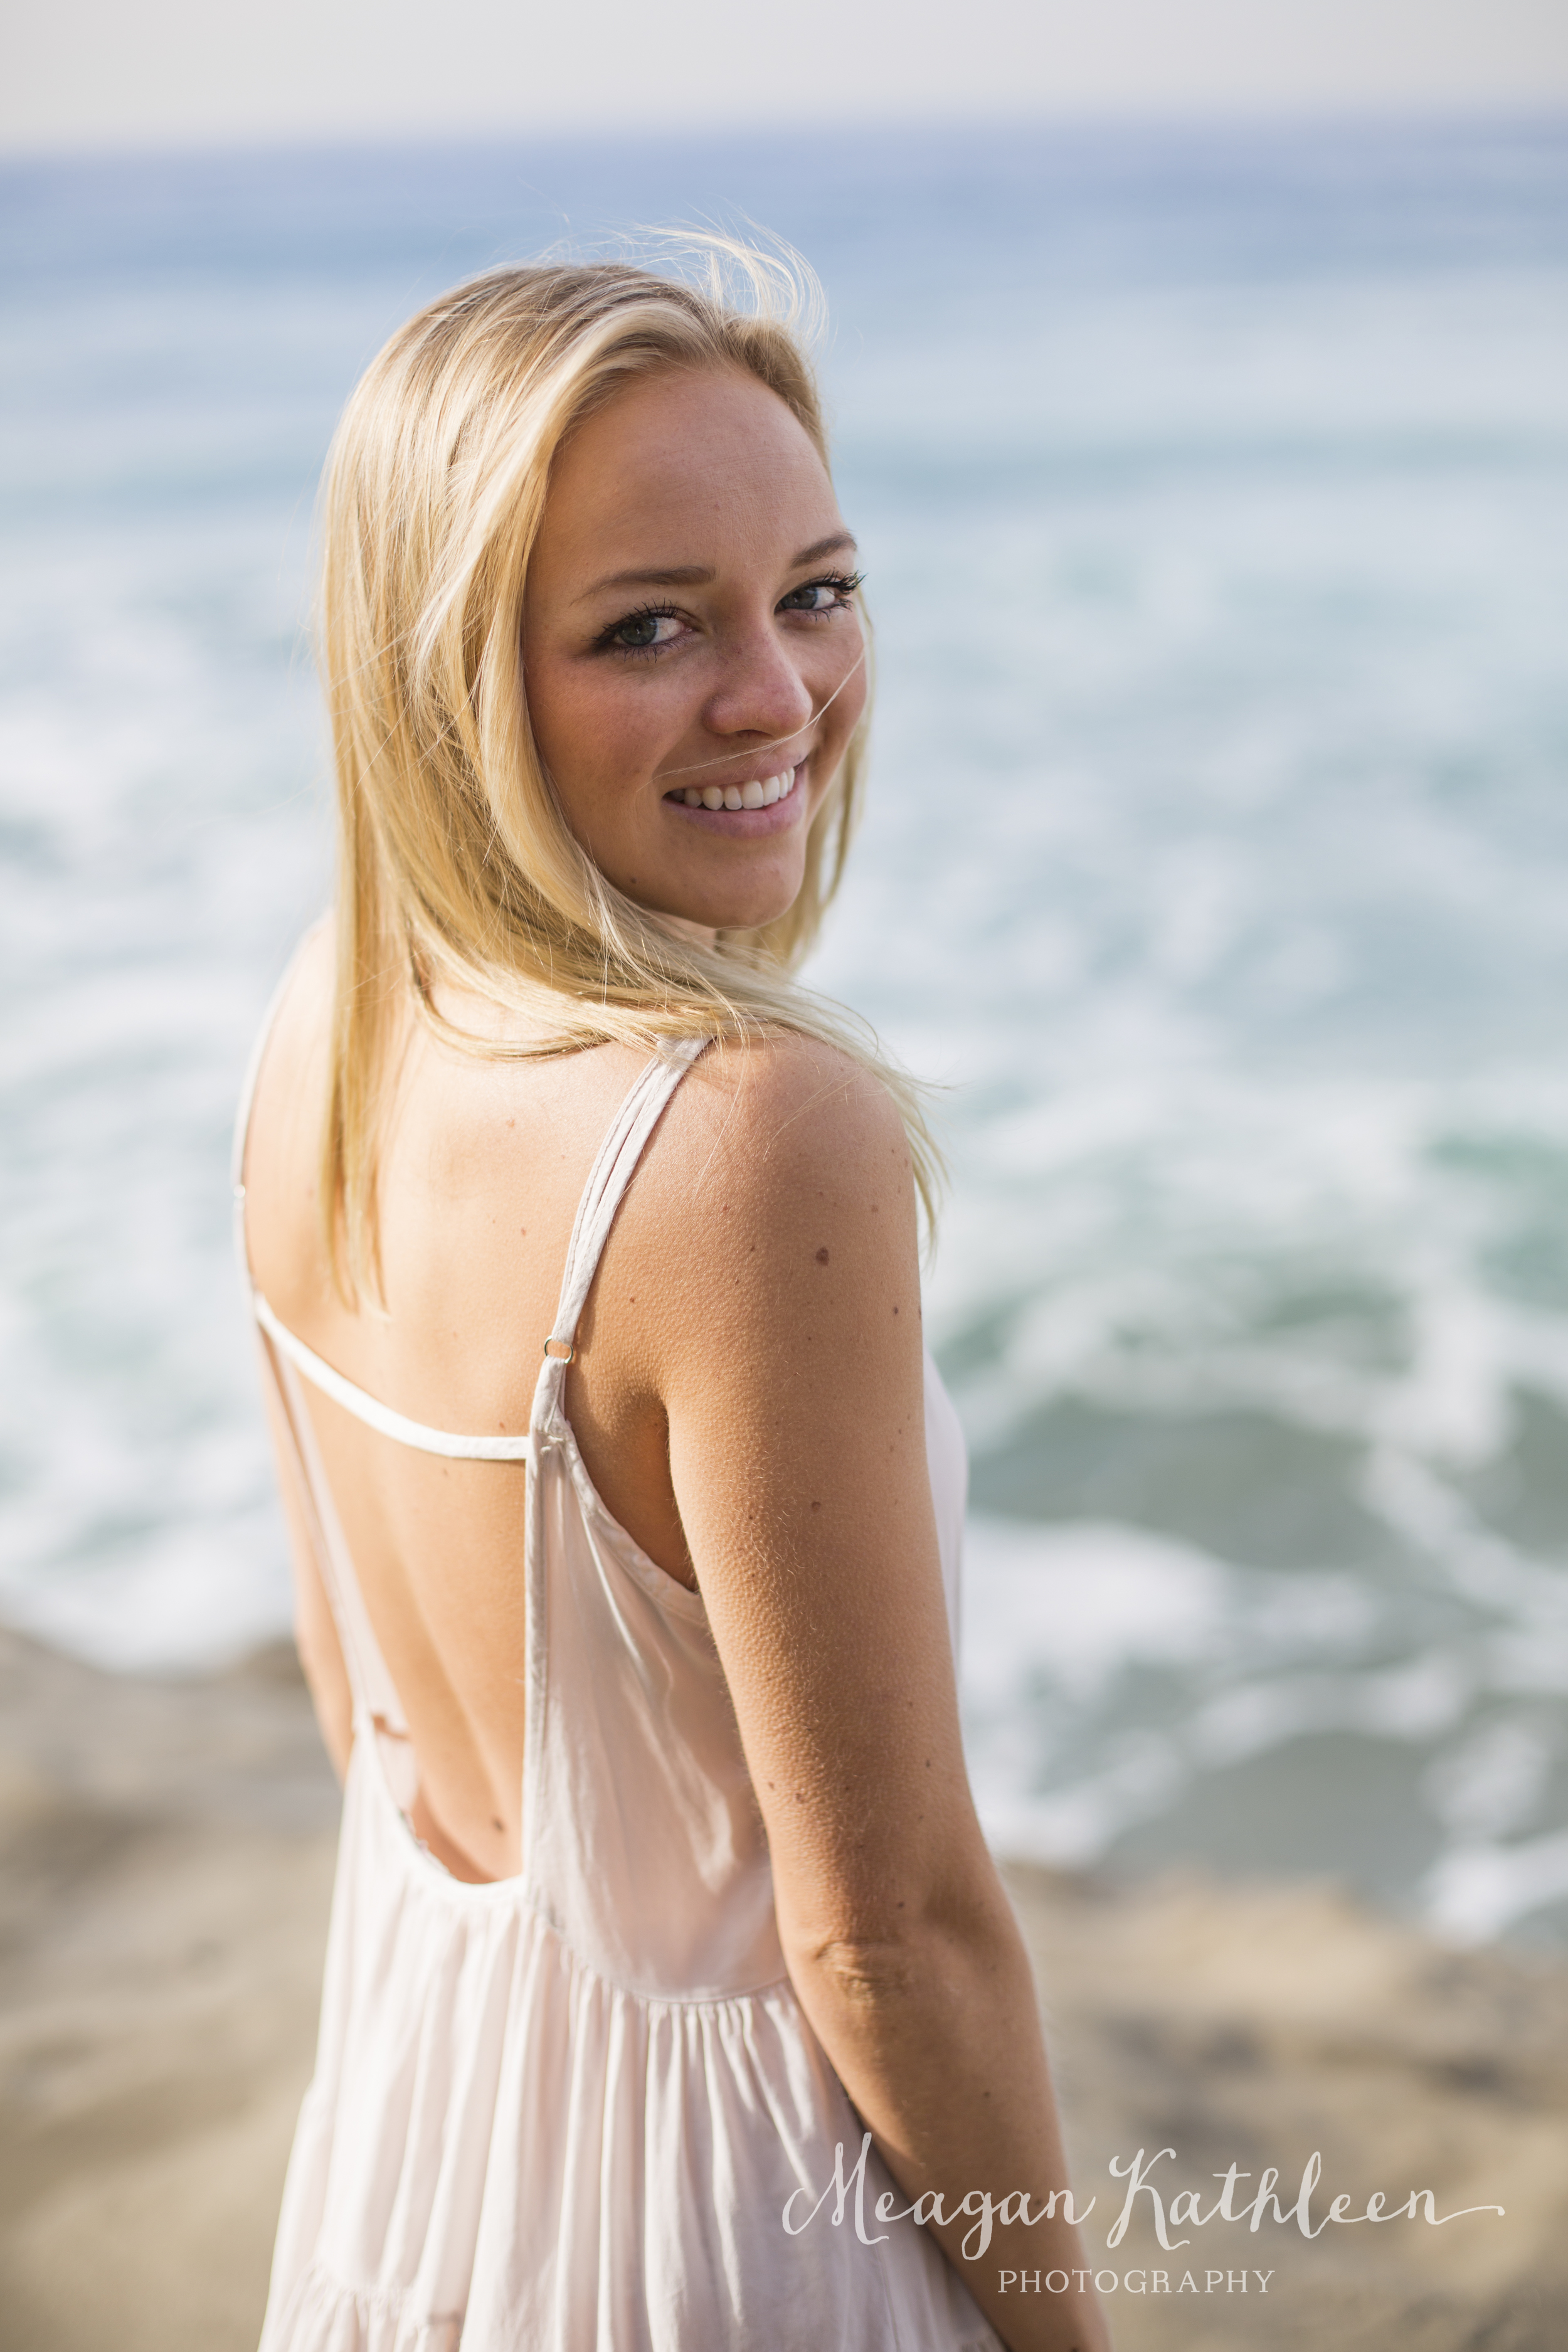
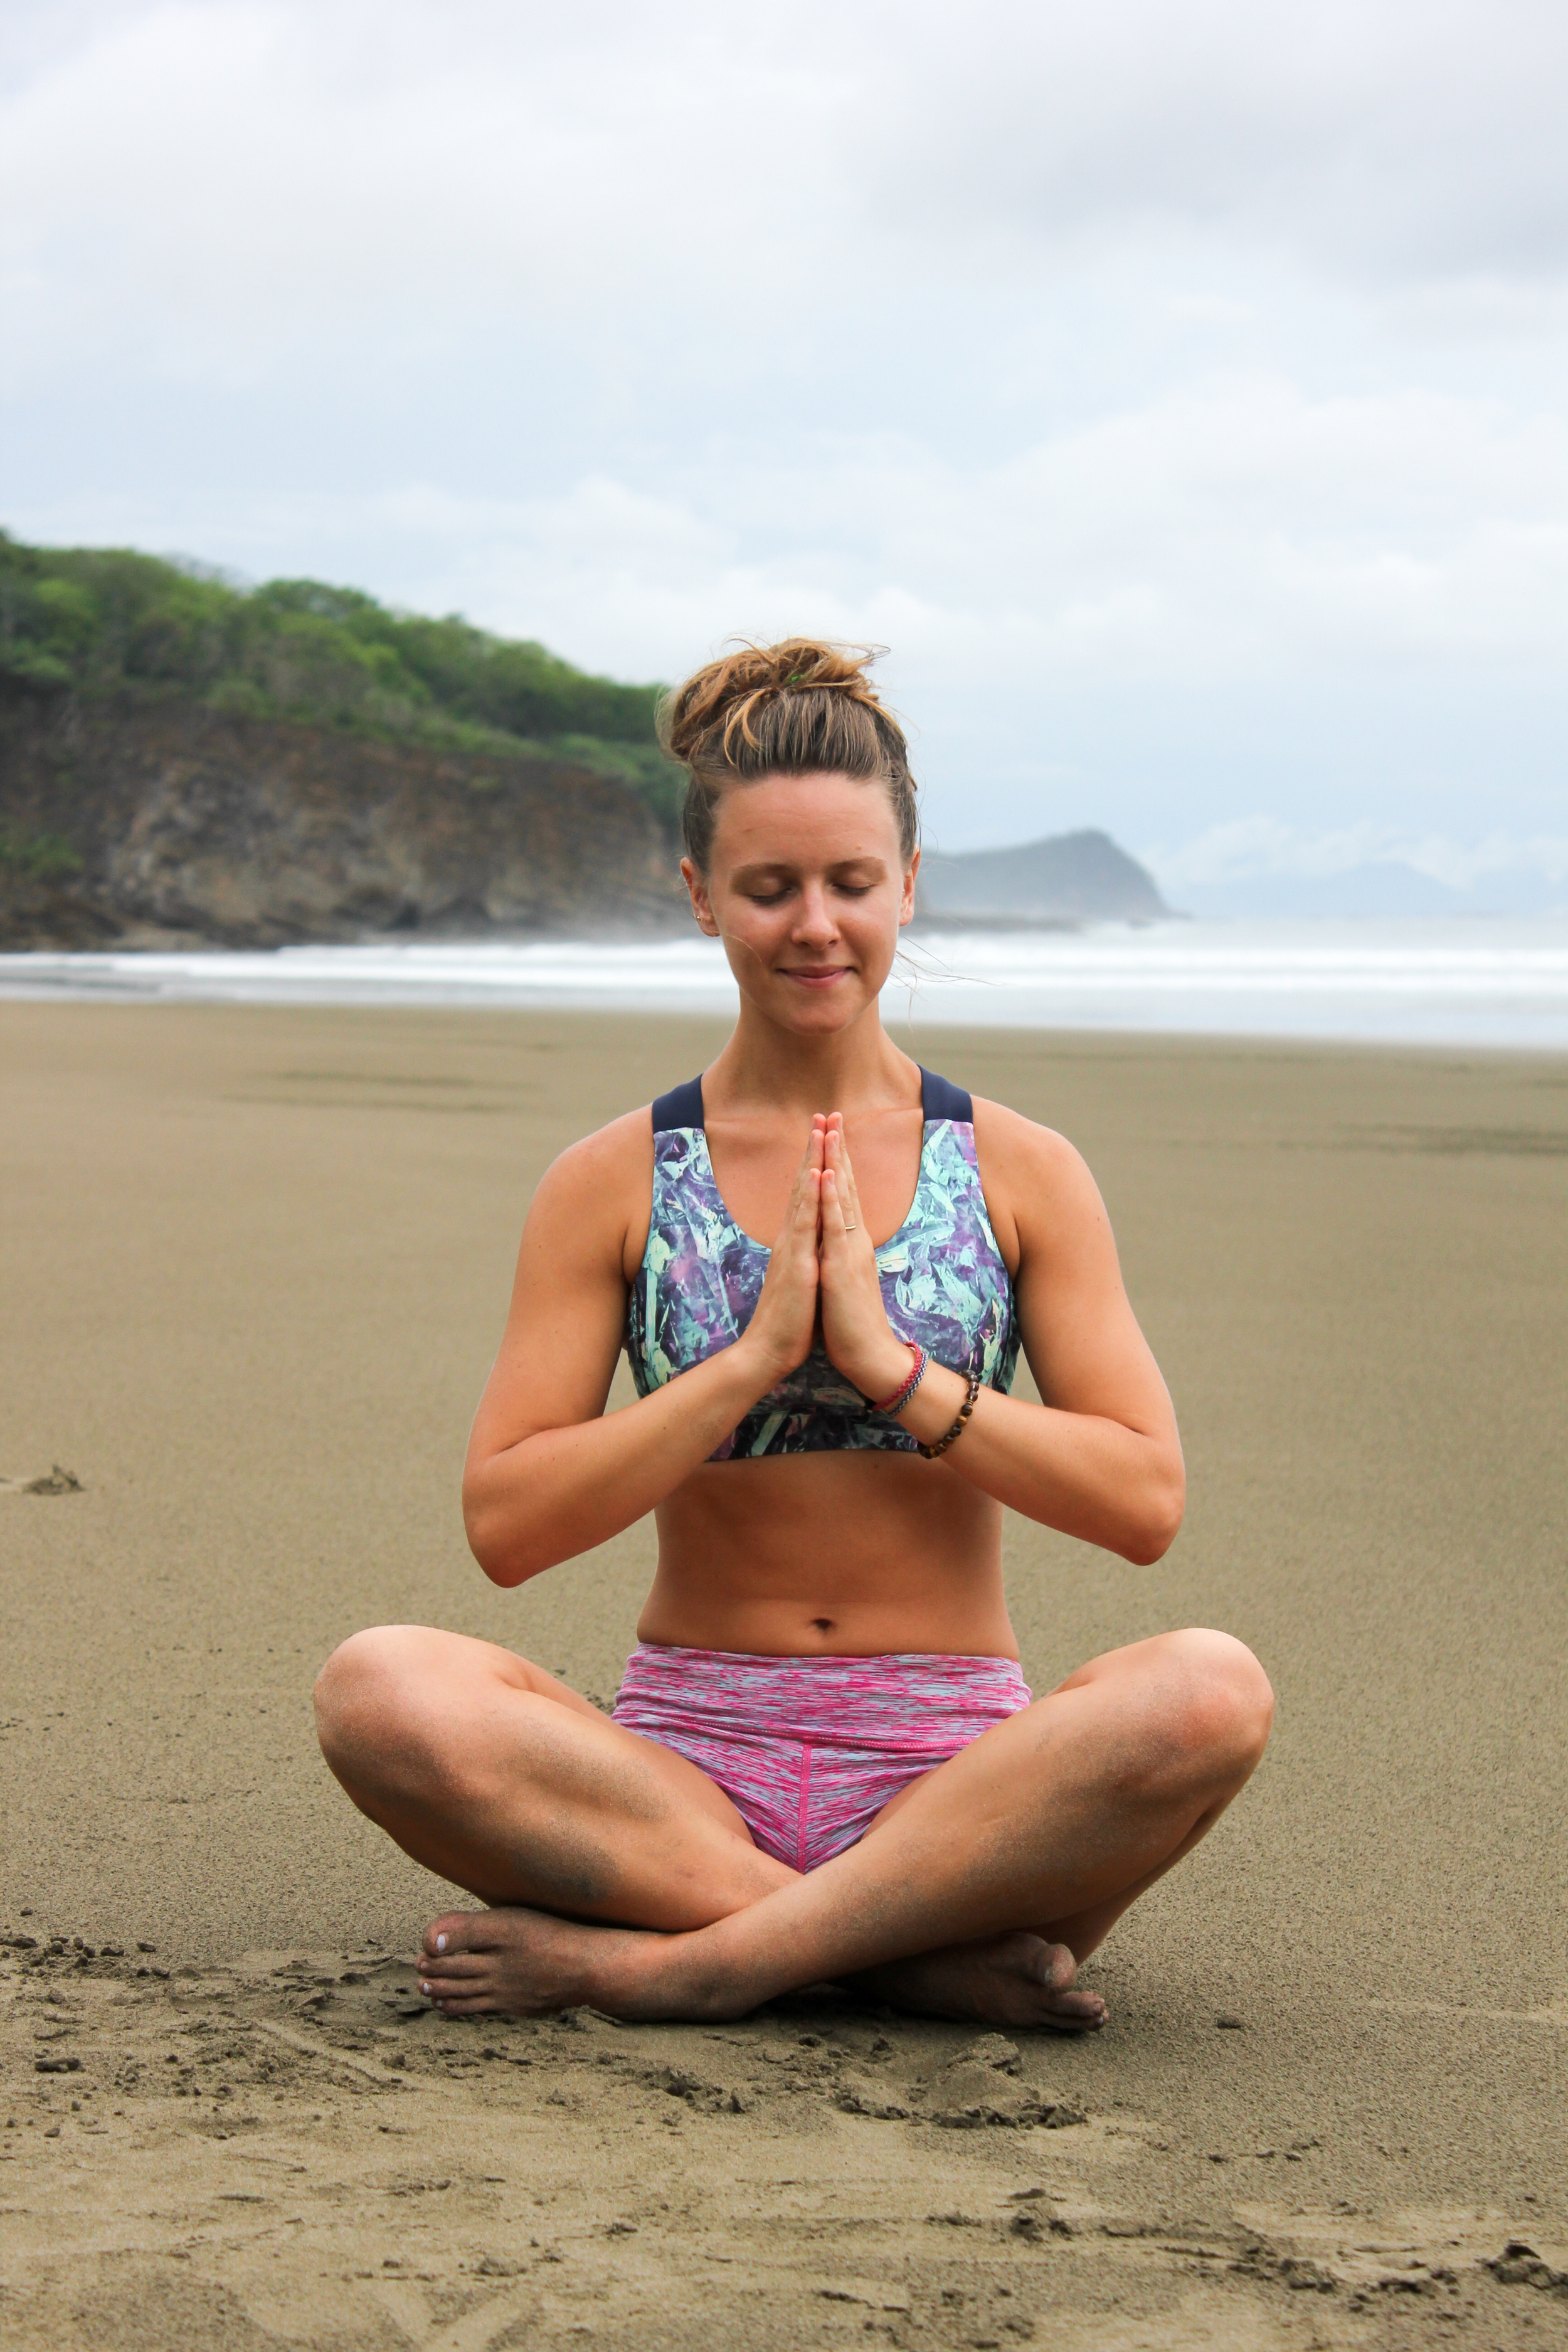
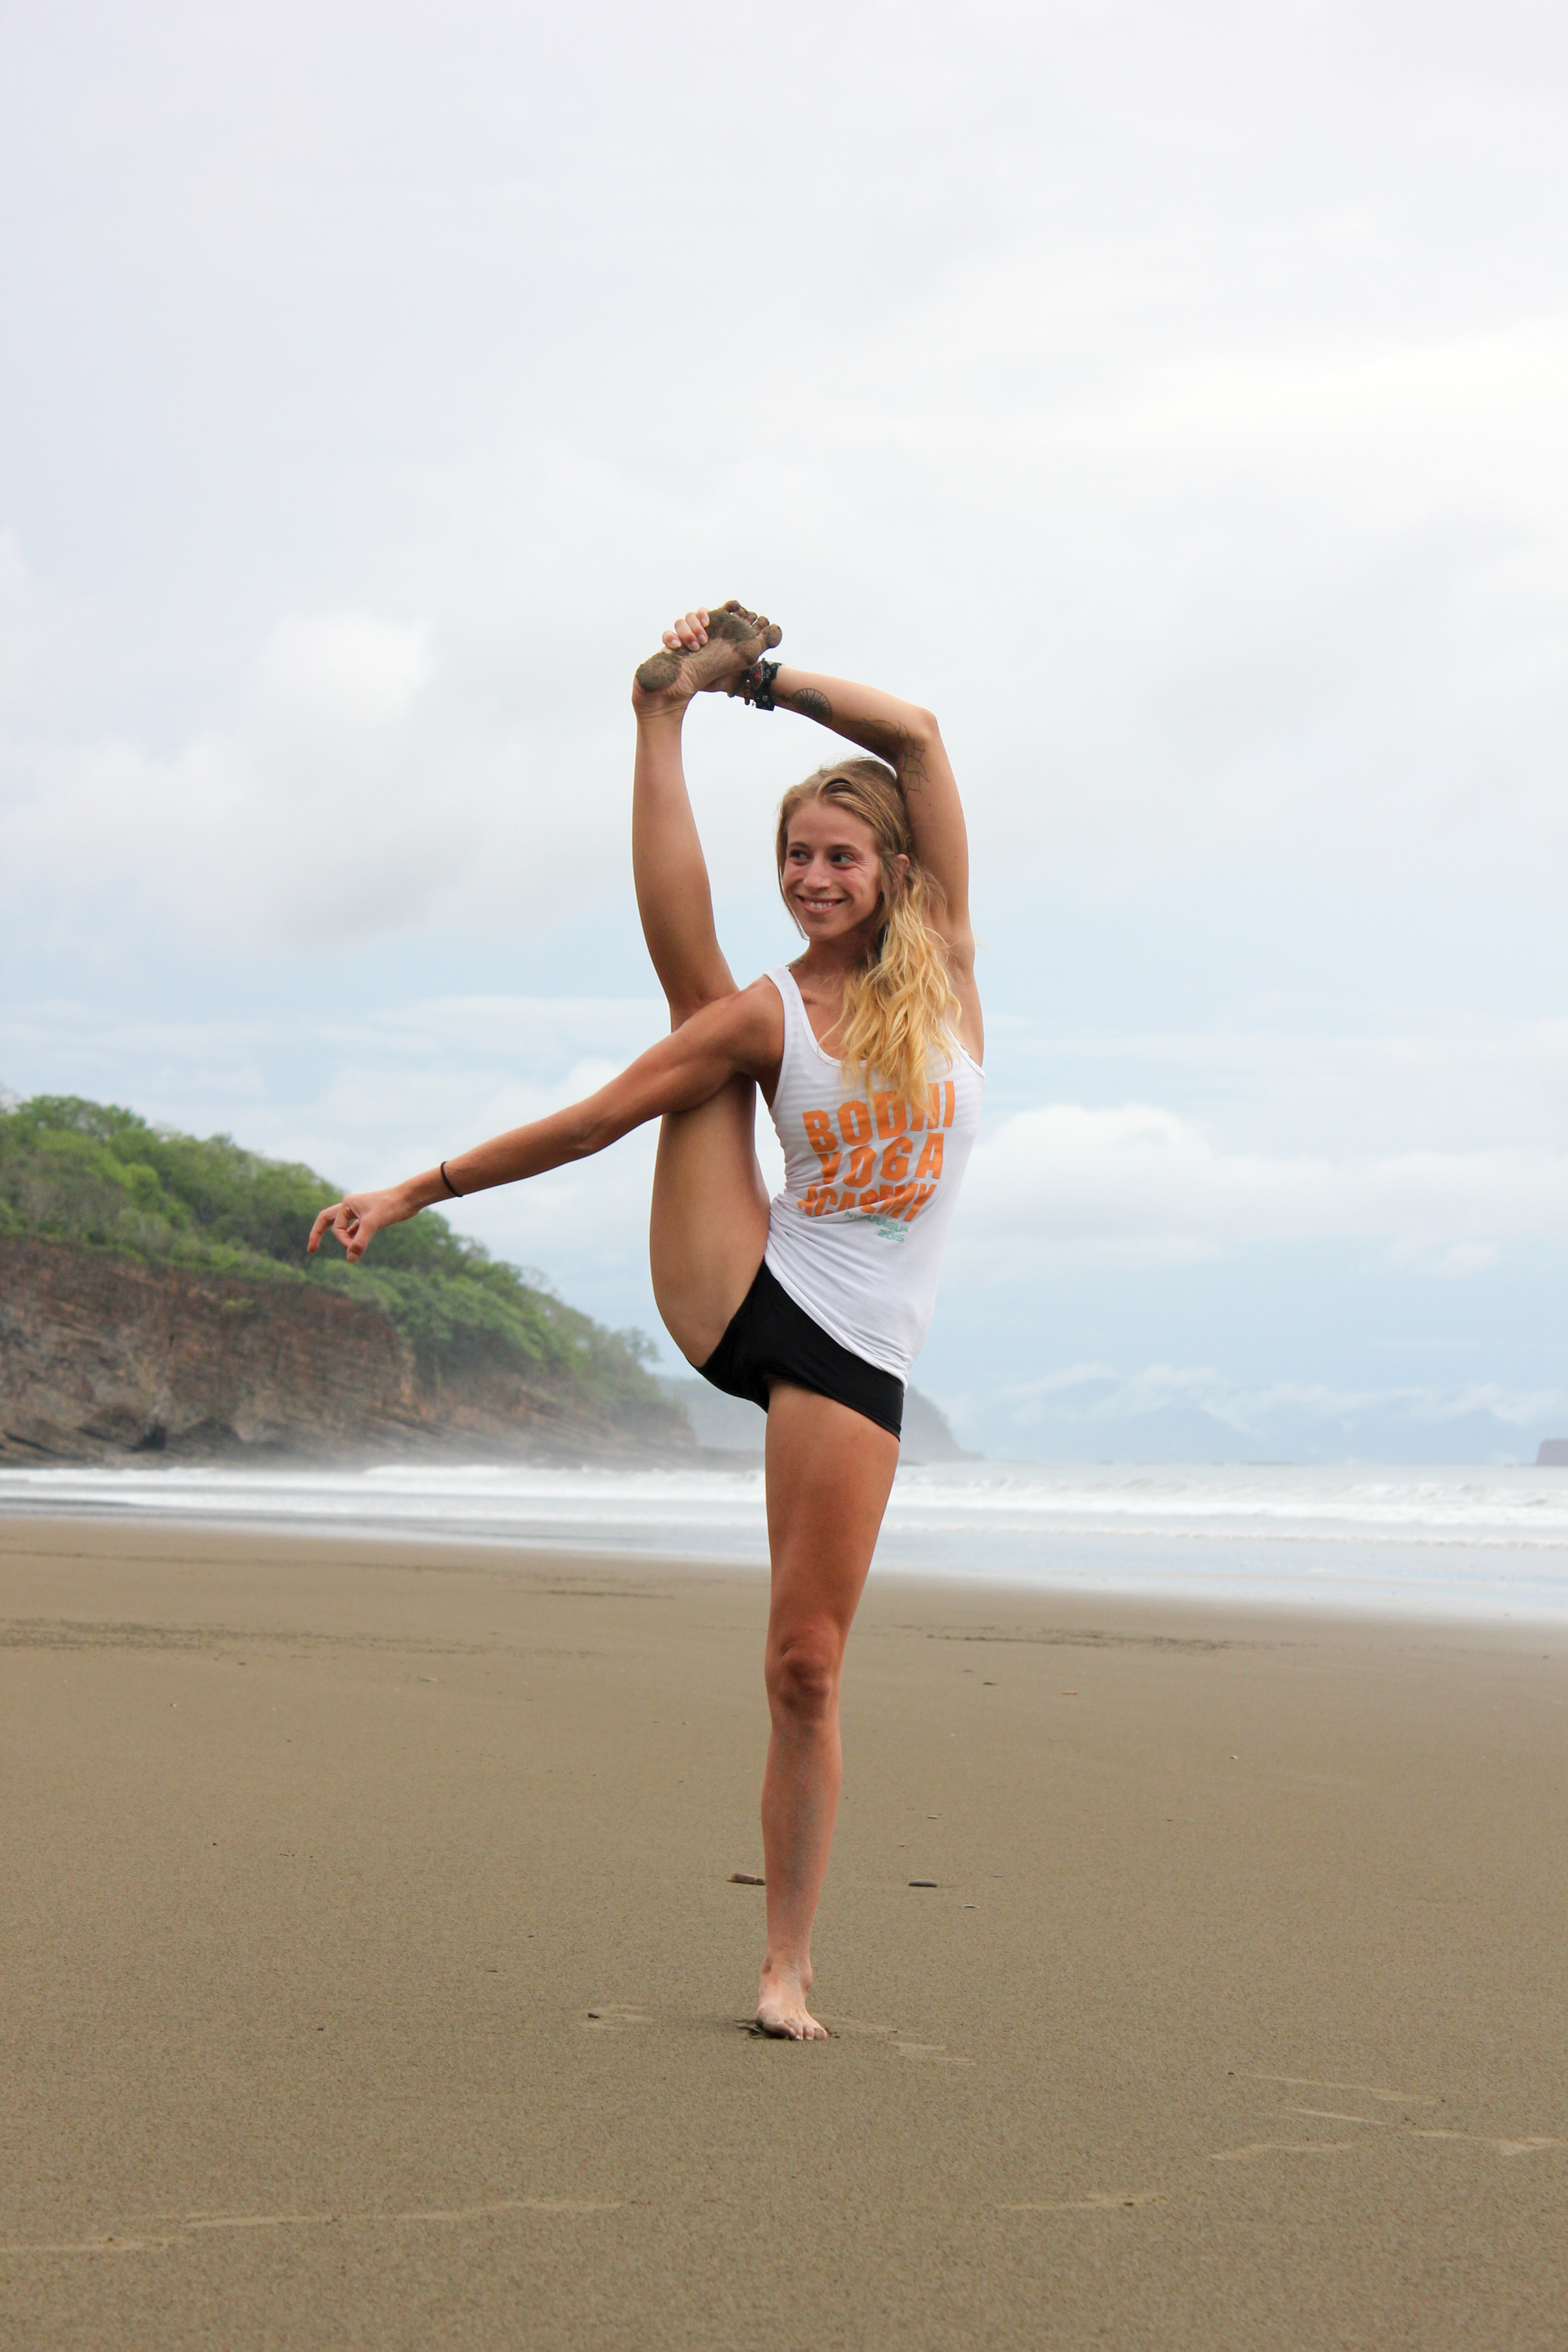
Congrats on your graduation from CSULB, Esther! I know Esther from when I was in college in my sorority. Your smile and bright light has always shined and you are an absolute joy to photograph. I wish you all the best in your future with english education! Enjoy the photos!
Love over fear.
T-minus three days until we leave for Southeast Asia! Wow time flies. I remember getting ready to leave for Costa Rica this past July and my emotions were absolutely crazy. I had just quit my full time job (that I had for a year) just a few months earlier, I moved home to my parents house in Carlsbad that summer, and my relationship with Kyle was pretty new as well.
Fast forward to now, this trip is a lot different. I haven't had many changes to my work or living situation, I've actually settled back into Carlsbad quite well. I had a part time job at Lululemon over the holidays, I've been growing my photography business and teaching private yoga classes, and I have been going to a yoga studio called Mantra that feels like my second home. Although Kyle is up in LA, I still get to see him a lot since we have flexible schedules which is awesome.
Although the transition into traveling again feels easier this time, this trip is going to present many new challenges. The flight is going to be 12 hours to Tokyo, then another 7 hours to Bangkok. When we went to Costa Rica is was a mere 6-7 hours of flight time. Also, Costa Rica was only 1 hour time difference. This time, a whopping 15 hours time difference from California.
Also, let's talk about the language. Thai and other Asian languages are going to be interesting! At least in Central America they spoke Spanish, which I took in high school and had a slight knowledge of! This time around, I'm COMPLETLEY lost. So, that will be fun.
Another main difference between my two trips is how many places we will be going. I backpacked around Costa Rica for 3 weeks and then I went to Nicaragua for 4 weeks. Doing my yoga teacher training in Nicaragua gave me the chance to slow down in terms of travel and settle into a little home away from home. This trip, we will have a slow pace, but over the 10 weeks away we plan to see a lot and most definitely won't be settled in one place for a whole 4 weeks.
I think if you are not pushing yourself towards new things in life, you won't be able to grow. With the trip this time being easier in terms of just getting back from an international trip, it also presents new challenges. I think being realistic though is a key component. For example, as I sit here with my Acai bowl at my yoga studio, I am typing on a teeny tiny keyboard and using an iPad mini. On my last trip I toted my MacBook Air with me. Although it is a MacBook Air and decently light, I am cutting down how much I am taking with me drastically. Carrying a huge backpack in tropical heat is not fun. I repeat, NOT fun! When thinking about how much I actually used my laptop to blog or edit pictures on my last trip I decided I could easily size down and bring only the iPad mini. Hopefully I will get getting more blog posts out there compared to my last trip!! I won't promise anything just yet though. My point was, I am being realistic and learning from my mistakes on my last trip.
All in all, I am really excited and nervous for this trip. It is going to be an entirely new adventure with my best friend Hannah. Just having Hannah, who I've known for 5 years now and is a sister to me will be comforting when I miss home. My relationship with Kyle is stronger than ever and I am confident that we will make it work being 15 hours apart. It will be hard, but I fully believe that our love is stronger. I am so incredibly lucky to have a guy that supports my dreams and goals.
At. The end of the day, when I take a deep breath and center myself, I need to always choose love over fear. When we are fearful of the future, we manifest that for ourselves. I want to be empowered, confident, adventurous and strong, approaching everything with nothing but love in my heart.
I am really excited that our trip will begin with nothing but lots of LOVE! One of the first places we are going once we get to Thailand is The Elephant Nature Park in Chiang Mai to work with DOGS! Yes, Dogs not elephants (although we will see the elephants too!) The park has over 400 rescue dogs that need care and attention and we will be working and staying on the park grounds for 7 nights. Volunteering with dogs in Costa Rica was one of the highlights of my trip there and I am really excited to work with the pups in Thailand too.
I want to hear from people who will be following my travels on this blog, what do you want to hear about? What kind of things do you want me to write about? Pictures? Reviews of food and hostels? I want to be writing things that people are interested in!! Please leave a comment below if you have any ideas!
Me at the Costa Rica Dog Rescue. This sweet girl was my favorite and I wanted to take her home!!
Love and Peace,
Meagan
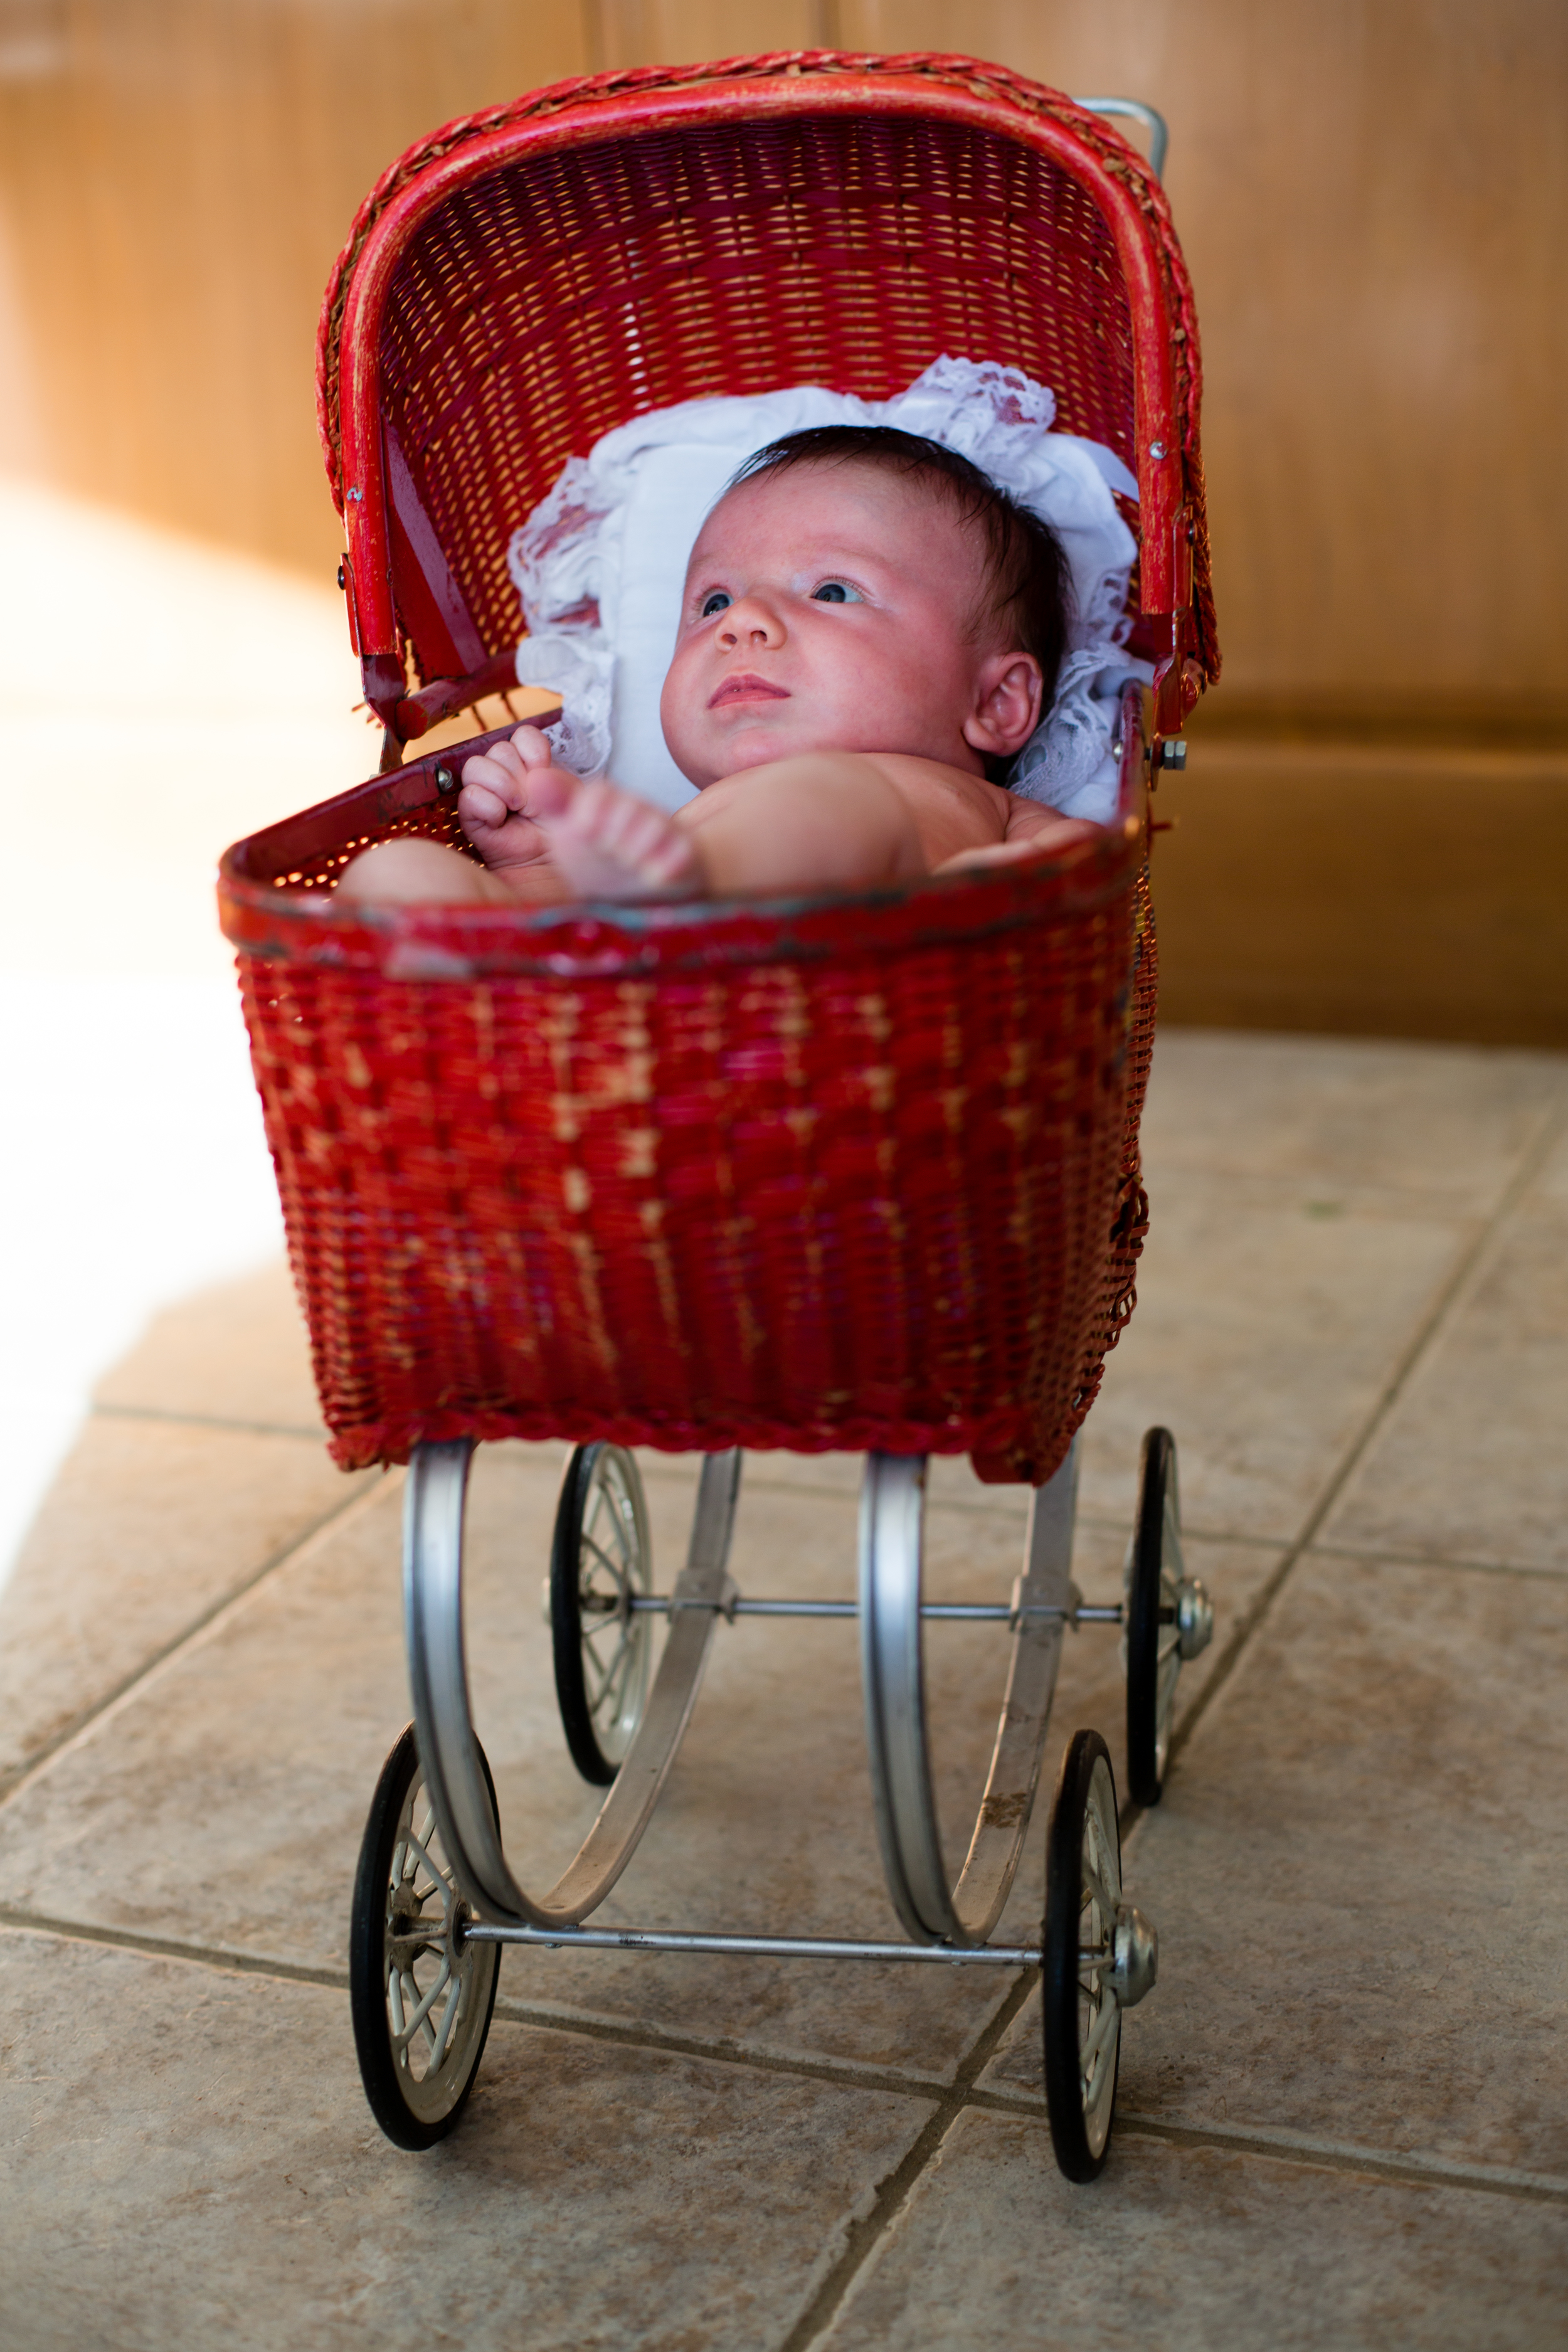
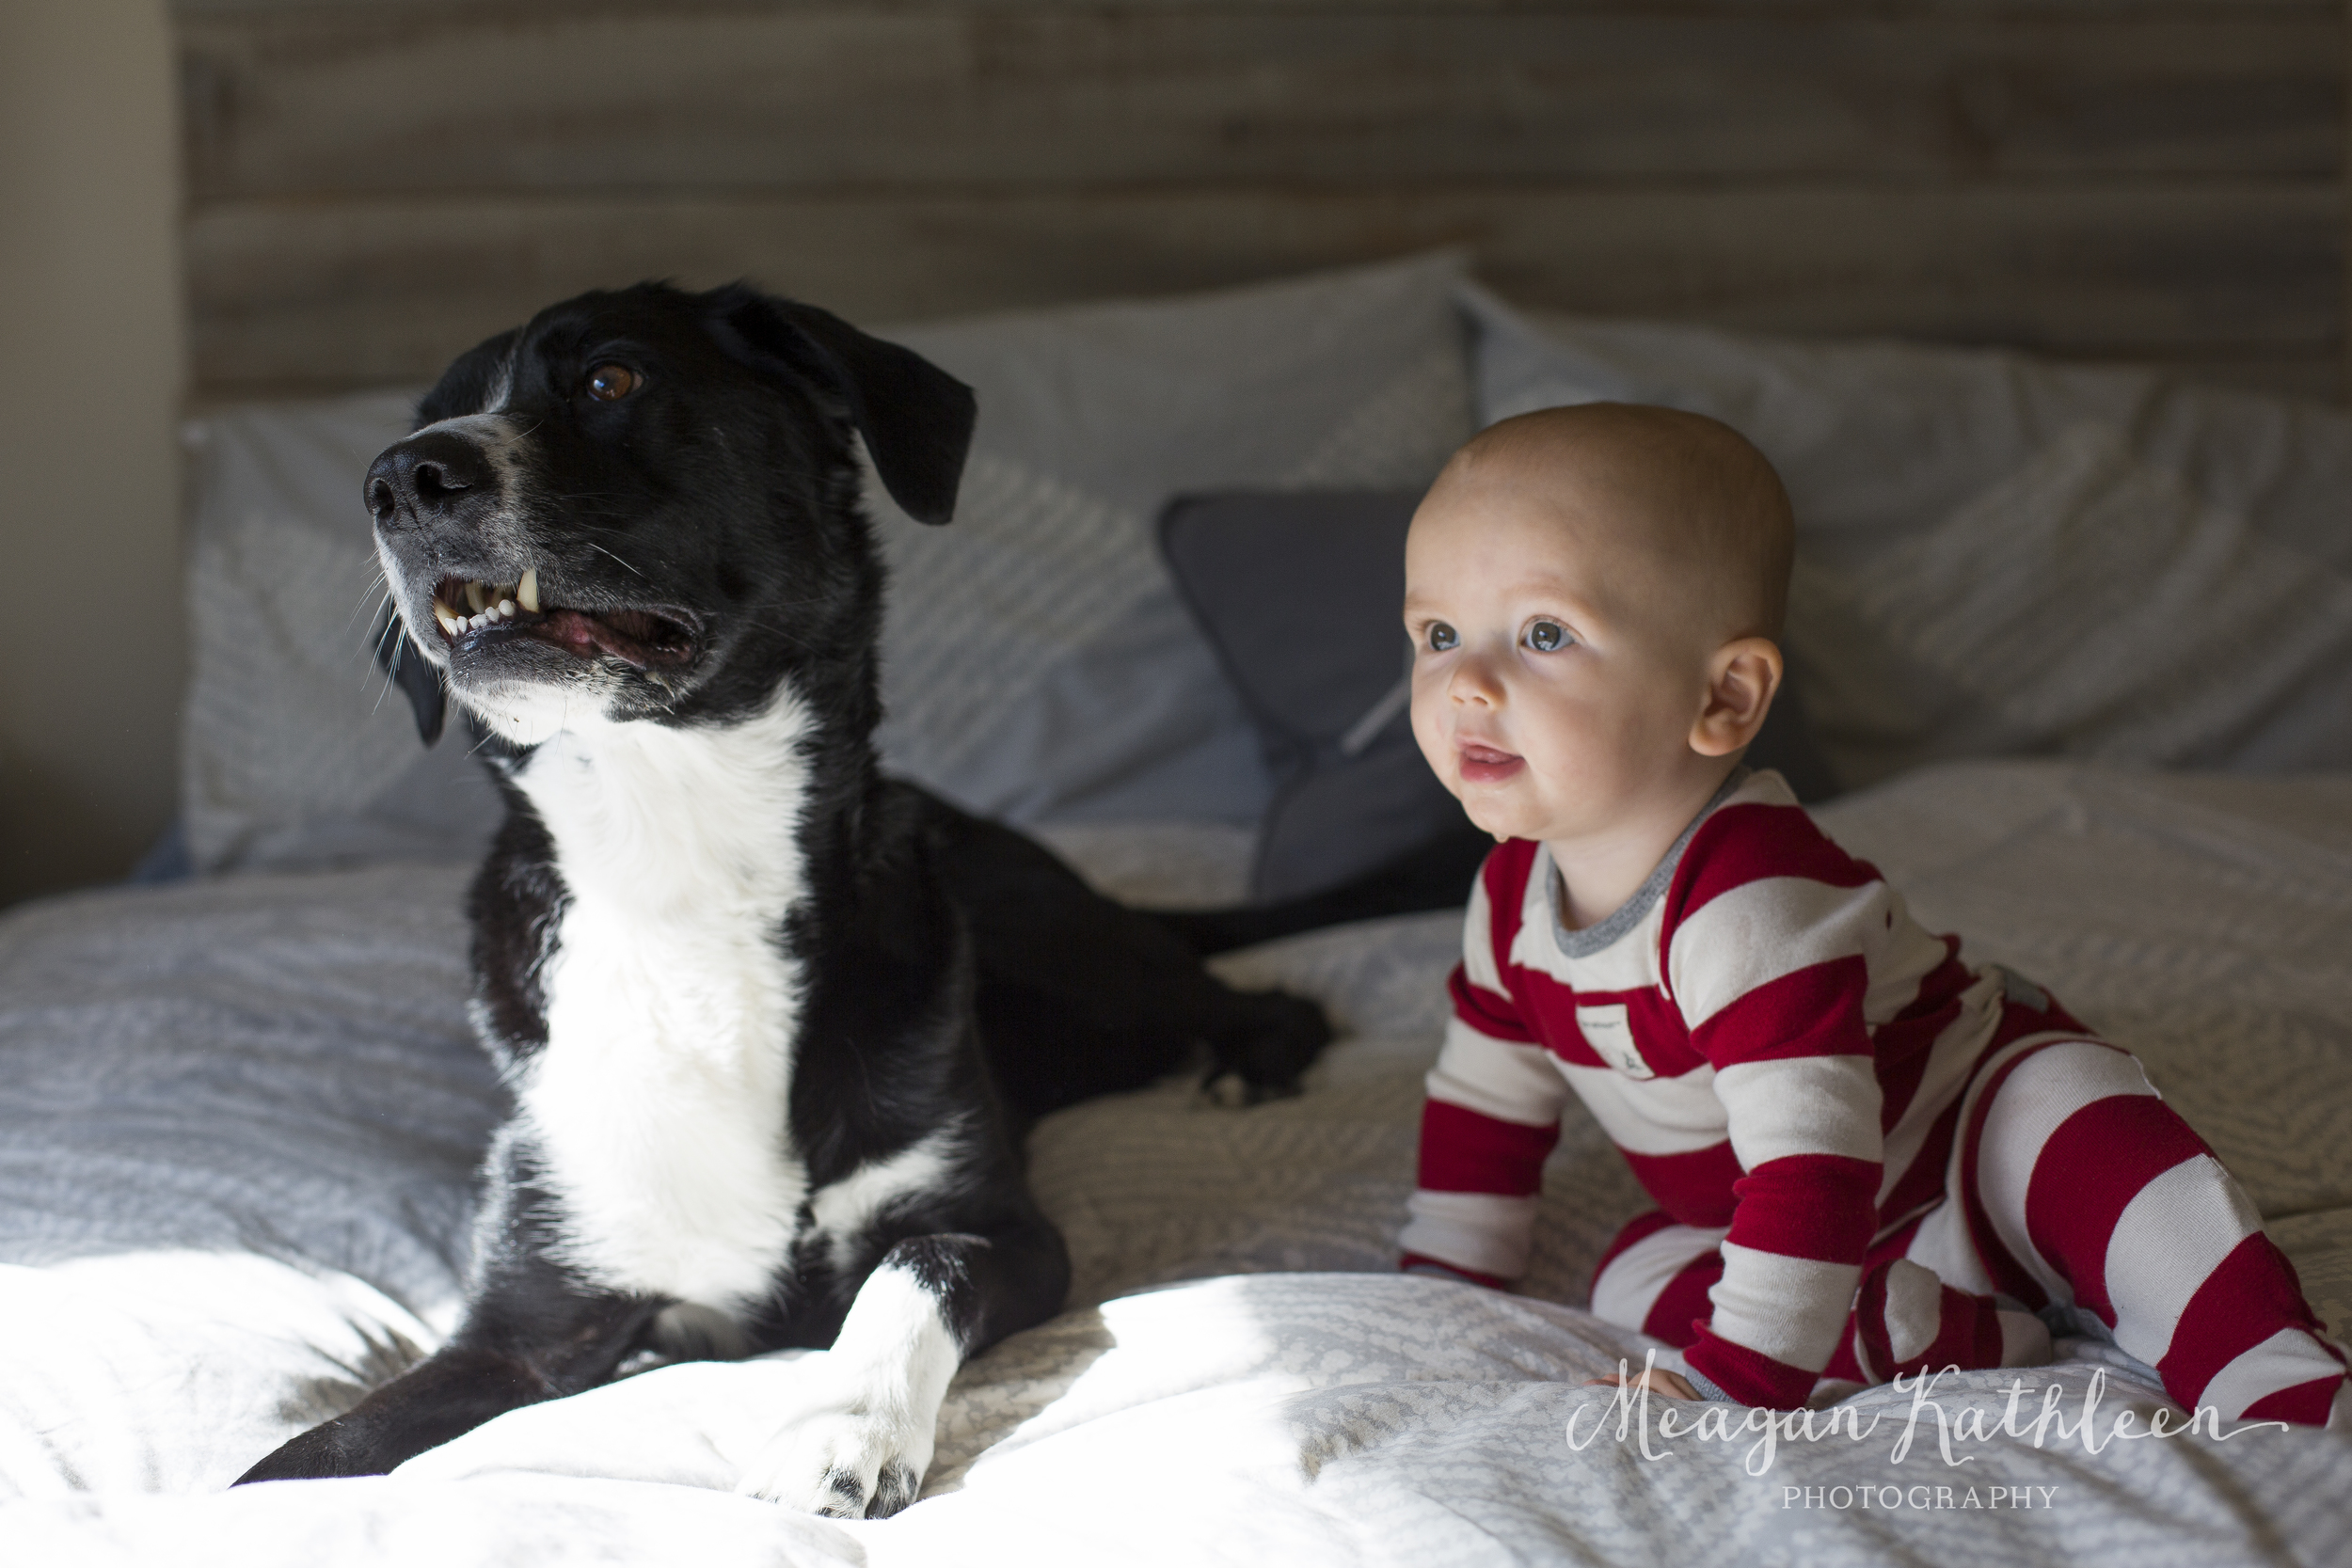
Waverly [baby smiles]
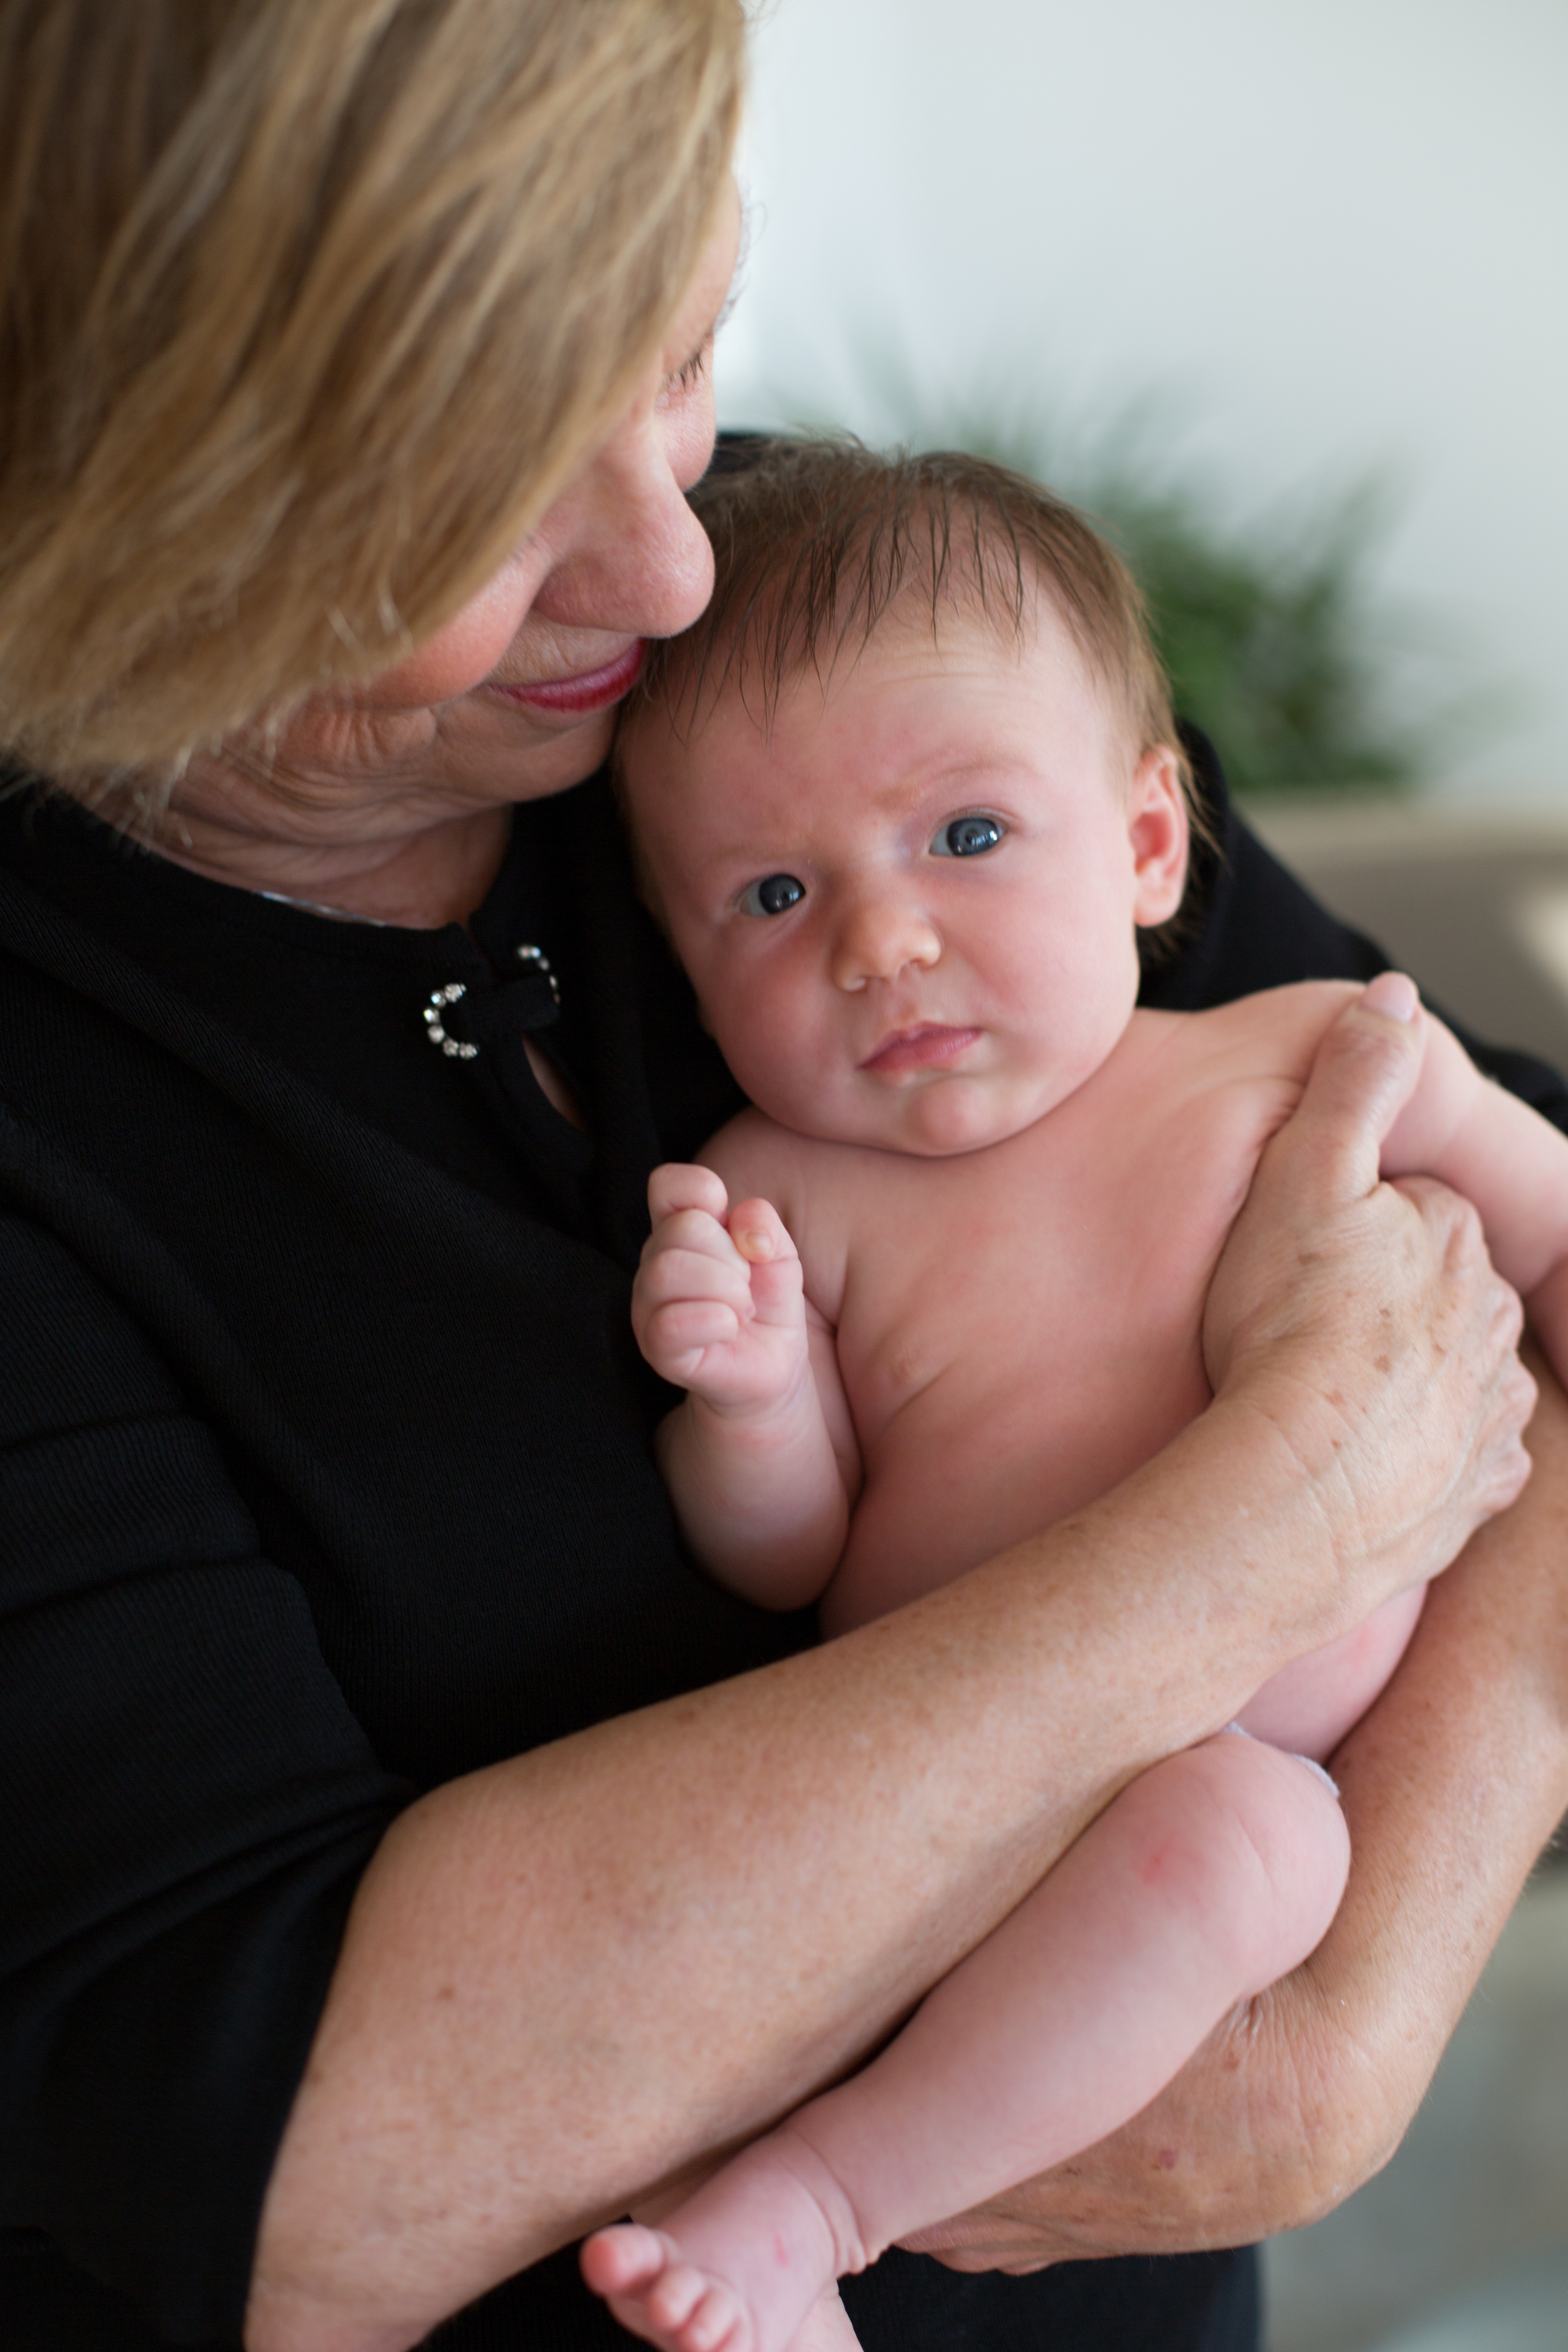
Sawyer [baby smiles]
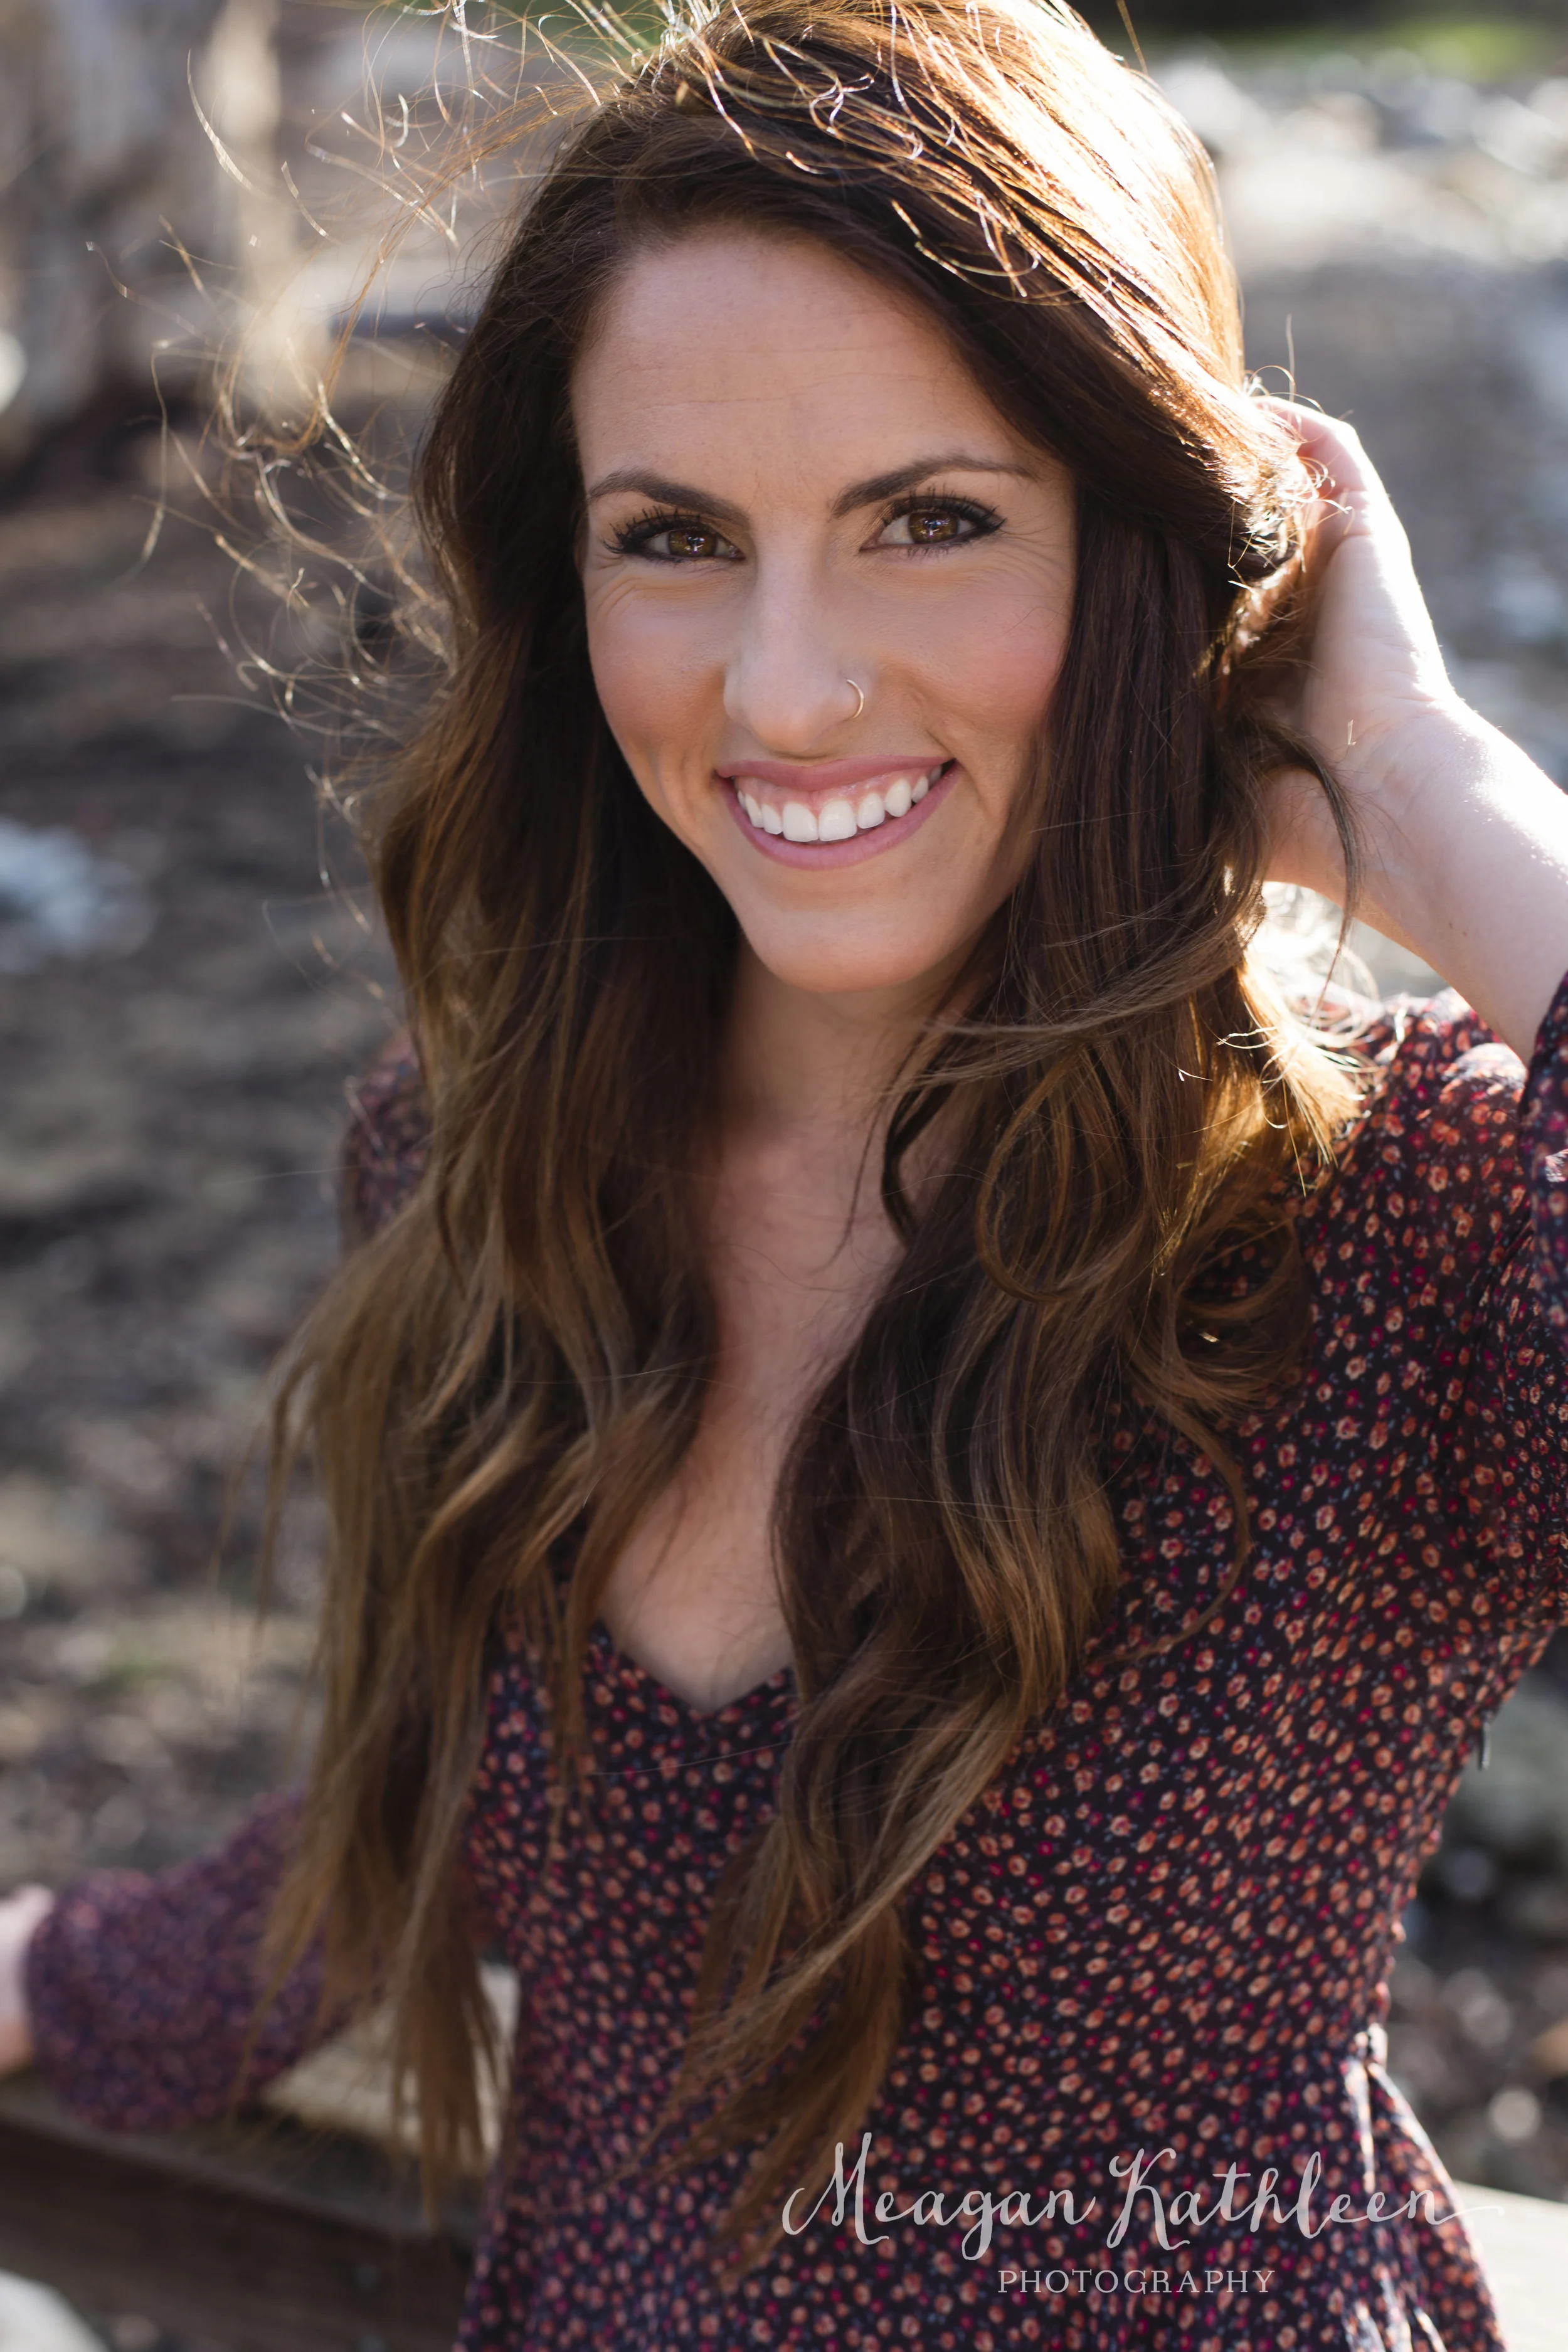
Chelsea [portraits]
A whimsical-rainy-day-shooting-just-for-fun kind of day. Thank you Chelsea for being my model and what a lovely one you are!
Hank [college grad]
A really fun graduation session shot in Carlsbad! Congrats on your degree from Azusa Pacific University, Hank! It was really fun to reconnect again and capture these stunning photos!
Graham [baby smiles]
Emily [portraits]
A fun morning with a new friend, Emily. Isn't she gorgeous?! Thanks for sharing your smile with the world. If you are interested in portrait sessions, click here!
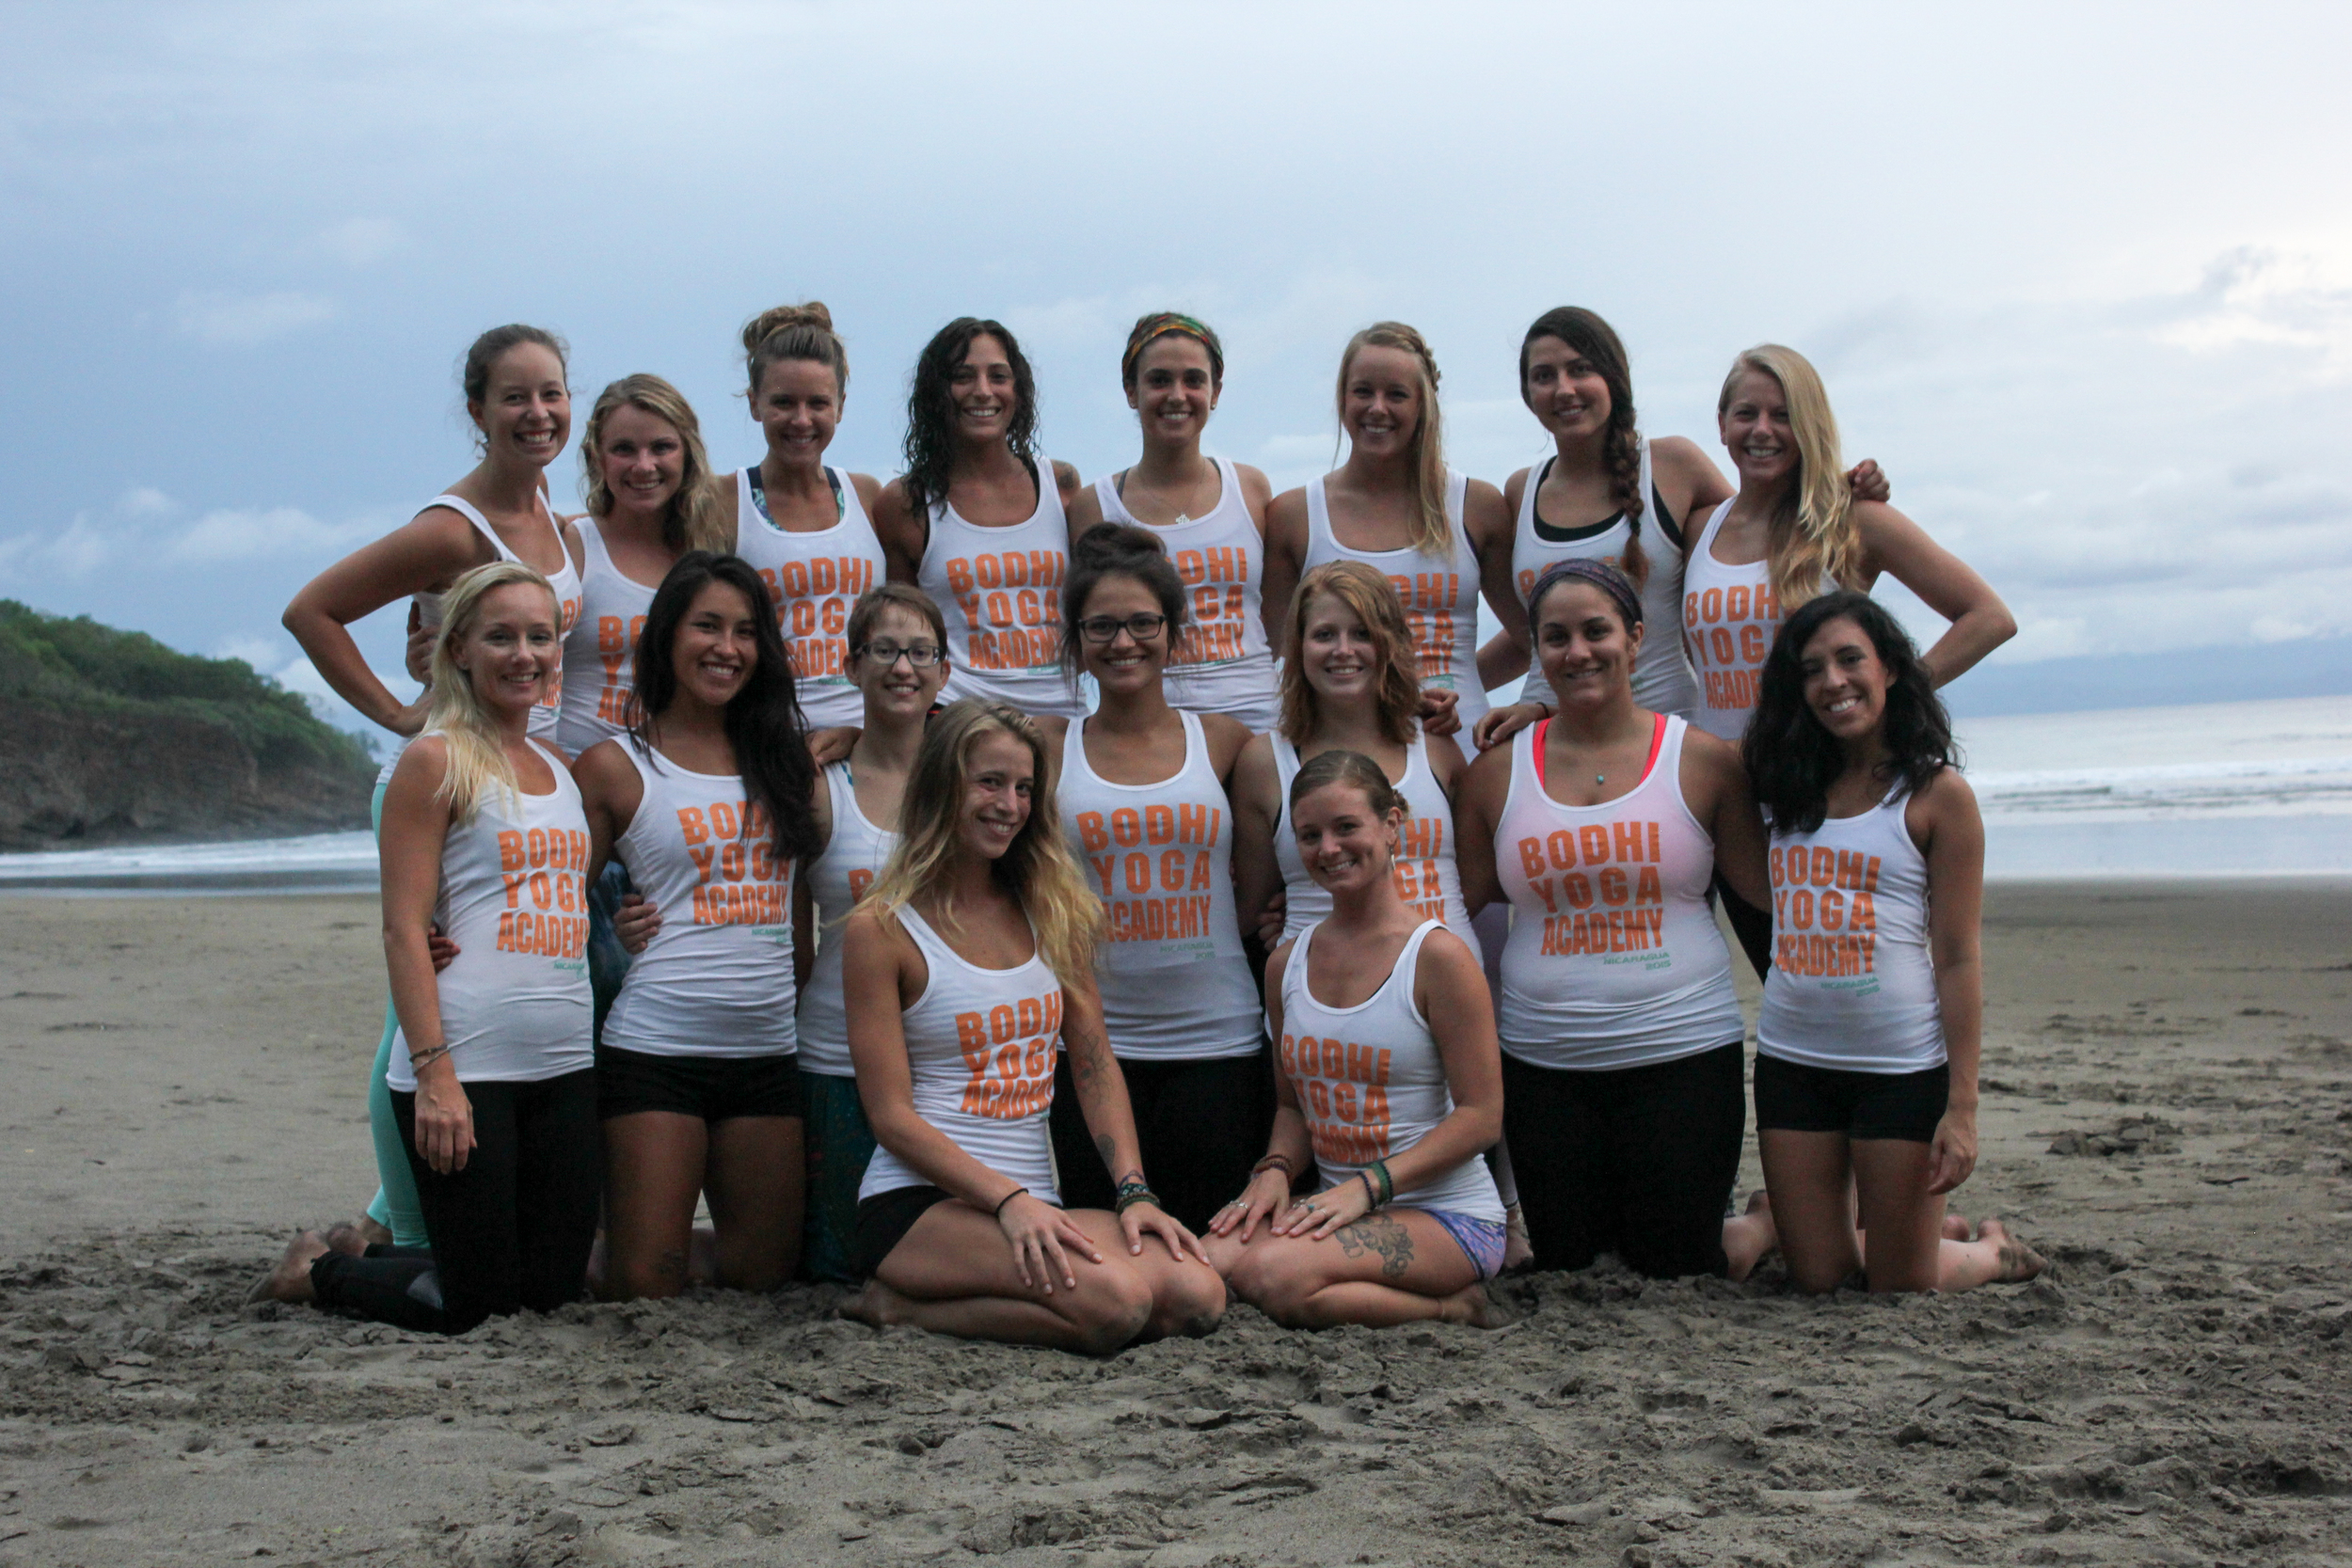
Bodhi Squad
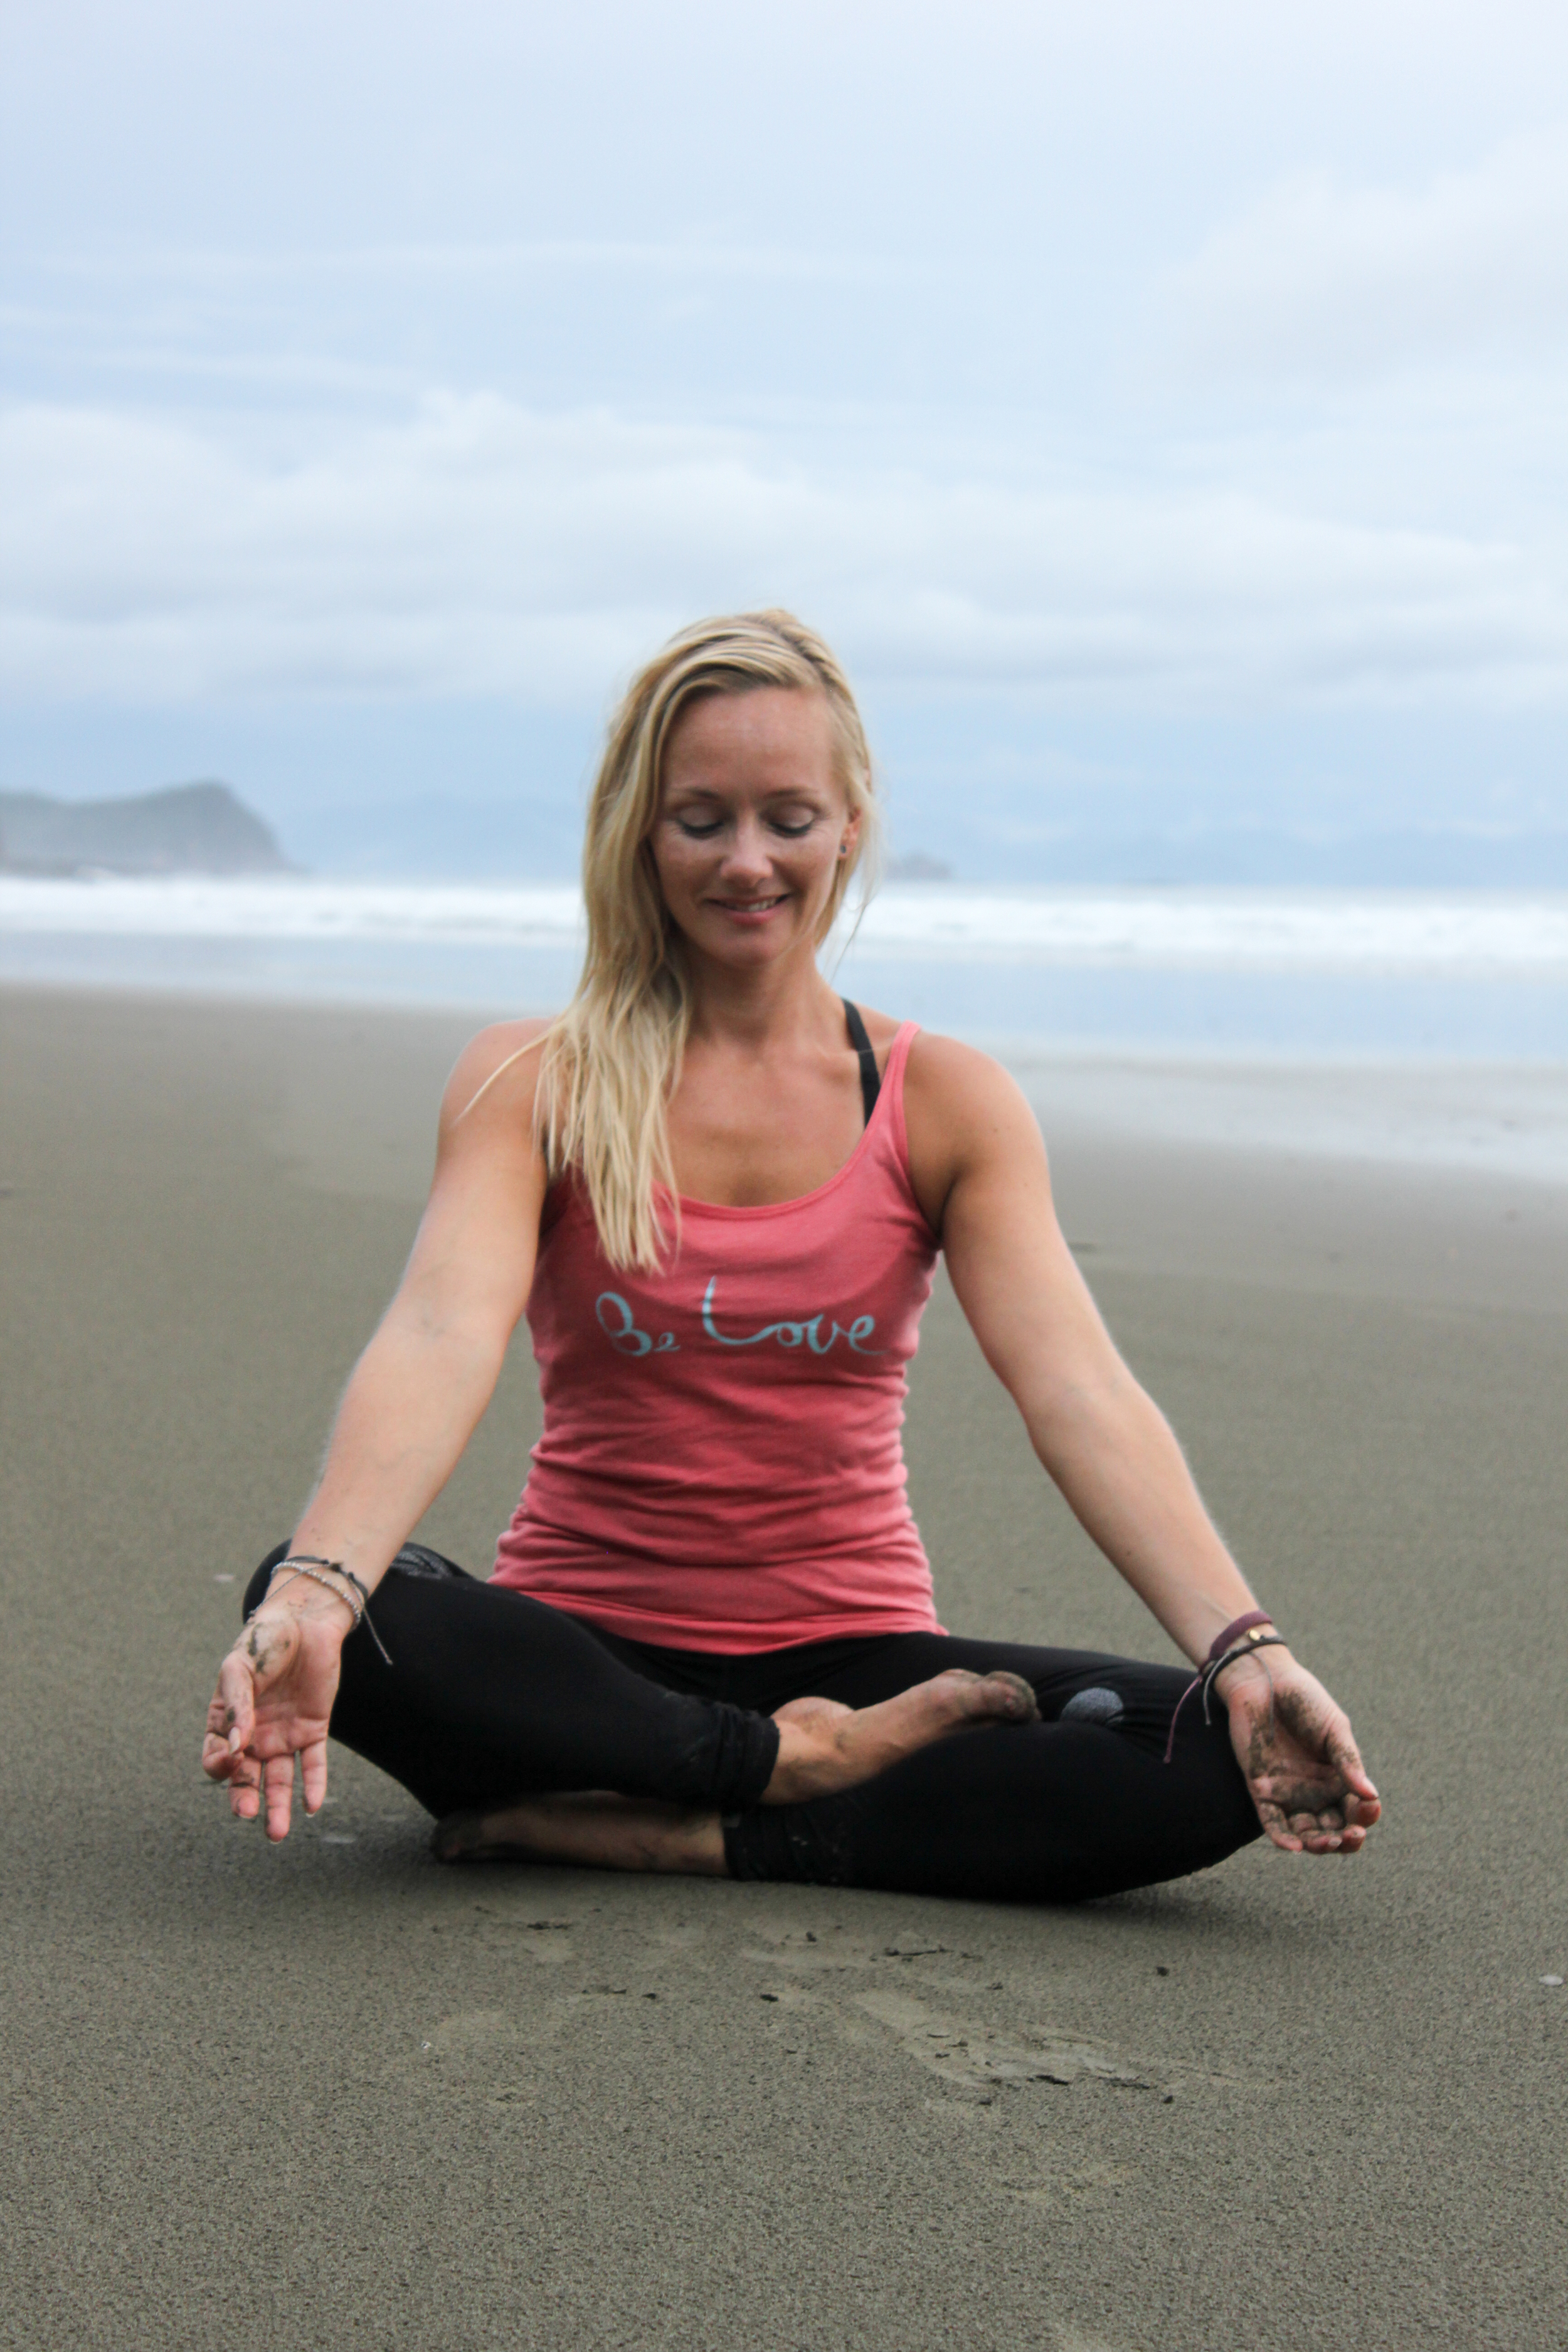
Little did I know what I was getting myself into when I enrolled in Bodhi Yoga Academy's 200 hour teacher training in Nicaragua. I have gained so much from the incredible experience and I truly miss the beautiful souls that are now my sisters every day. I am confident that we will all meet somewhere on our yogi's paths once again.
During the last week, I was able to capture photos of some of the amazing women I met in my training. The amount of strength and divine beauty in each of them is inspiring to me.
The Perfect Pour-Over (at home!)
Hey Guys! Before I left for Central America, I collaborated with one of my old friends Ryan Martin on this blog. Ryan is a coffee expert and takes his coffee pretty seriously. After an evening of making and drinking a TON of coffee, taking photos, and then writing and editing the process, we bring you this mini tutorial on how to brew your own perfect cup of joe. We hope you like it!
All photographs by Meagan Kathleen Photography.
Before I get into the techniques and details of manual brewing, there are two things that will radically change the taste of your coffee regardless of how bad you mess up or get frustrated with the process. These two things include brewing with fresh roasted and fresh ground coffee beans. While other factors like water temperature and ratios (more on that later) will create variations in your cup, I believe those two things will have the greatest impact. Here’s why.
Fresh Roasted
Think about this for a moment: How long do you think that bag of roasted coffee sat on the grocery store shelves before you bought it? How long do you think it sat in their warehouse before putting it on the shelves? Even further, how long do you think it sat in the warehouse of the coffee company before they shipped it to the grocery store? And so on. My guess is about a few weeks for every stage, resulting in a few months since the time it was roasted. That is just way too long. I am going to say something that will probably make you a little uncomfortable - you might even spit out a bit of that store-bought “coffee” that you’re drinking. Ready?
Roasted coffee has an expiration date of about 14 days.
That’s 2 weeks.
Not months.
The coffee bean is the seed of the coffee cherry that grows on millions of trees around the world. And it is quite sensitive. After the bean has been picked from the cherry, it is considered “green coffee.” This green coffee exasperates its freshness at a much slower rate than roasted coffee. It can go over a year before going stale. However, to get it to your cup, it has to be roasted.
Upon roasting, the coffee bean is heated to extremely high temperatures, eventually “cracking” and beginning the activation of the many flavors inside this little seed of wonder. But as soon as this process begins, the clocks starts ticking. Even just a several days after roast, your coffee will taste different, slowly losing the nuances of flavor. So imagine how much more delicious your coffee would be if you brewed much closer to the time it was roasted! Without beating a dead horse, I am sure you understand what I am saying here. Get fresh roasted! The two most convenient ways of getting fresh coffee is through your local shop that roasts in house (or gets beans from another shop that does) or through roasters that ship their fresh beans to your doorstep. Some of my favorite roasters are Ironsmith Coffee Roasters, Rose Park Coffee Roasters, Happy Mug, and Kean Coffee. All of them have different styles of roasting, but are unique in their own ways. I definitely recommend checking them out or doing some searching yourself for what you love best. Some other popular choices that I have yet to experience include Intelligentsia, Chromatic Coffee, and Verve.
Personal preferences: Light-medium roasted, single origin. I prefer a single origin out of respect for the coffee farmers and singularity of flavor. Single origin means that the beans came from only one farm, not multiple (which is what you typically find in a blend). This means that the hard work of the farmer is not thrown in with another farmer’s beans. If I were a coffee farmer, I would want to be the only coffee in someone’s cup - not paired up with some rando in another country! Secondly, coffees from different regions and countries have very distinct tastes. When you roast them together, you are bound to get quite the mash-up flavors. I am not a huge fan of that. Anyway, that is personal opinion. You need to find what YOU love and don’t let anyone else tell you otherwise. Flavors(or “notes”) that I tend to really love include berries, stone fruit, floral/tea, and butter. It may be a shock to you, but those are all very common notes to find in coffee when it is taken care of properly. Makes you a little excited doesn’t it?
Fresh Ground
Okay, now for the second most important thing - and I will try to keep this short because at this point you’ve probably caught my drift about the whole freshness thing. Fresh ground beans.
Remember how I said coffee beans are sensitive? Well ground coffee beans are even more sensitive. Based on the grind size of your coffee, your time window for ground coffee can be anywhere from 15 seconds to 15 minutes (even that is a little long). When you grind coffee, you have begun exposing many of the volatile flavors that are ready to be dissolved into your cup. The more time that passes between the grind and the brew, the less flavor it will have. So, to get the most of that coffee goodness onto your excited little tongue, grind right before brewing! Actually, one more important thing regarding grinding - don’t take this one as seriously until you’re ready to really step up your game.
Consistent grinds are also extremely important. Every various size of ground, from fine to medium to coarse and everything in between, has a different potential for flavor. Consistency matters because you don’t want several different grind sizes emitting several different flavors into your cup - it’s not as yummy as it sounds. The reason I say not to worry about this just yet is because entry level burr grinders (that give you great consistency versus blade grinders) start at $100. However, there is a great solution to this if you’re not ready to take out a small loan for coffee stuff. The Hario hand grinders are affordable and functional options for your strive for the best cup possible - and they use burrs!
Okay, enough rambling.
Time to teach you how to make great coffee in the comfort of your home.
V60 Pour Over
Here’s what you need:
Coffee beans
Grinder
Filtered/bottled water
Kettle (preferably gooseneck)
Food scale that can measure to the gram
Food thermometer
Stopwatch (use your smartphone)
Hario V60 cone and filters
Something to brew the coffee into
Your favorite mug!
Preheat the Water.
After my introductory discussion you can probably come to the conclusion that coffee has… wait for it… flavor. Whoa, revelatory isn’t it? Except you’re not going to taste any of those flavors just staring at it. Time to extract them! You do this by dissolving the coffee grounds into water. This is where your filtered/bottled water, kettle, and food thermometer come into play.
We use filtered or bottled water for the cleanest cup possible and it’s as simple as that. Put the water in the kettle and use the food thermometer to heat it to a temperature between 195 and 205 degrees Fahrenheit. This range of temperature represents the heat at which the water best extracts those volatile flavors in your grounds. As for the kettle, a gooseneck spout is best because it gives you the best control when it comes to finally brewing your coffee. Control is crucial to how much speed, accuracy, and pressure you put on the grounds when brewing.
Weigh the Coffee.
Get your food scale and coffee beans out! Weighing the beans is important to the subject of water-to-coffee ratio and consistency. Being able to know exactly how much coffee you’re going to use will help you stay consistent with your future brews! For the sake of this method, go ahead and weigh out 22g of coffee beans.
Grind the Coffee.
The grinding should happen either right before or after the water is finished heating up. Remember, you want to grind right before brewing. The grind should be about a fine-medium size. This is close to the same particle size as table salt. Like I mentioned earlier, a burr grinder is best for this because it gives you great consistency in your grind, resulting in each particle being the same size. So if you can get your hands on an automatic or hand-operated burr grinder, that would be best. However, if you have a blade grinder, don’t fret, just try to get your grind as close to the fine-medium mark as possible. You can shake the grinder a bit while it’s on to even it out. Remember: freshness of grind is most important here.
Setup the Brew.
Grab your scale, V60 cone and filters, ground coffee, and a vessel to brew the coffee into (unless your mug is big enough). Set your vessel on top of the scale, your V60 on top of that, and a filter inside the cone. Take your hot water and run it through the empty filter and into the vessel, eliminating the particles that create a paper taste that would otherwise make it into your coffee. Pour the “paper water” out. California’s in a drought, so be modest. Just kidding. Sort of. Next, pour your ground coffee into the filter, shaking the cone to level out the grounds. Now turn on your scale, making sure that it reads “0g.” You’re ready!
“Bloom” the Coffee.
The “bloom” is another term for pre-infusing the coffee grounds. What this does is removes much of the carbon dioxide and trapped gases in the beans - a natural consequence of roasting. To do this, add about 35-40g of water to the grounds, making sure to wet all of them. Keep an eye on your scale while you do this! Once you have hit 35-40g, let this preinfusion happen for about 30-45 seconds. Use the stopwatch on your phone for this. Or an actual stopwatch. You will begin to see the coffee grounds rise and bubble. This is the physical manifestation of those gases escaping from your coffee. The reason we do this is so that when it comes time to finally brew the coffee, your brew is not interrupted and thrown off by bursting pockets of air. We want as even as an extraction as possible.
Brew the Coffee… Finally.
Time to finish the process. Your stopwatch should still be running. After the bloom has finished, you will begin pouring water slowly and steadily in concentric circles, starting in the middle of the cone and going outwards, then bringing it back to the middle. Make sure to keep your pour steady and don’t go too fast! Remember, we want an even extraction. You should be able to pour the water at a rate that keeps the flow rate of extraction consistent. Easiest is to pick a spot near the top of the filter and pour at a rate that keeps the coffee there until you reach the final desired amount. For this method, go ahead and do this until you have reached about 350g total - this includes the amount you used for bloom, do not tare after the bloom. Don’t forget to keep an eye on the scale while you do this! It’s important that you do not add too much water.
We are using 350g of water for our 22g of coffee based on a general consensus that a ratio of 15-17:1 (grams of water to grams of coffee) is ideal for most brewing methods. Reason being, you do not want to either under-extract or over-extract the coffee grounds. Believe me, scientific observations have been done to find this ratio the most rewarding. In fact, the “golden ratio” is said to be 16.66:1. Quite specific. However, it is still very subjective and it’ll take a lot of tests for you to find what you like most! Anyway, once you have reached 350g, stop pouring water and let the water fully drain through to your vessel. The time should read about 3 minutes. If it’s longer than 3 minutes, consider coarsening up your grind a little bit as this will result in shorter brewing times.
Enjoy.
After all your thoughtful preparation, your coffee is finally ready. Give your vessel a swirl and pour it into your mug. Wait a few minutes for it to cool down. Much of the bitterness will burn off, giving you a more a flavorful experience. Sip. Smile. Give yourself a high five because you’re awesome.
Quick Guide.
Here is an extremely shortened version of what I just taught you. That way you can keep referring back to just this now that you have the deeper knowledge of each process. Also, underneath I will include some suggestions on great, affordable gear to get you started!
Preheat water to 195-205F
Weigh 22g of coffee
Grind to fine-medium (like table salt)
Setup brewing station
Pre-wet filter
Add coffee grounds
Bloom: add 35-40g water for 30-45 seconds
Brew: add water in concentric circles until 350g - stopwatch should read about 3 minutes
Serve
Sip
Smile
Here is my coffee notebook. In this, I record every detail of every brew to get a more scientific understanding of the craft. Documenting each variable helps me see what needs to be repeated or what can be changed in future brews. If a coffee tastes a certain way, I can almost always attribute it to some variable easily referred to somewhere in my notebook.
Home
Being home is hard. I knew it would be difficult, but it is really hard! Whenever I travel, it always takes me a bit of time to get into the groove of constant change and challenges, and living a very unconventional life. Once I get into that groove, I could stay there forever! Of course I miss being home, but coming home presents lots of questions and emotions that I always get hit hard with no matter how many times I travel and come home again. These questions are my biggest fears right now. I think by putting them out there and writing about them, it makes it easier. So here goes...
1. What am I going to do next?
THIS. Dang. Quitting your job and moving everything home (100 miles away) doesn't make your life exactly easy to pick back up again. Now that I am home, I have a blank canvas of how I want to spend my time. But the questions is how? Should I get a full time job? Part time? In what industry or field? Should I try to freelance? Should I teach yoga now? Should I pursue photography full time? Should I do everything? The possibilities are endless, which is amazing, but also quite frustrating. I am incredibly blessed to have a home to live in with my family who has welcomed me back with open arms. Now that I am rent free, I have a lot more flexibility with job searching and I will be able to find something that I love. I am trying to create a life and career that doesn't feel like work, but is driven by my passions. Again, it is easier said than done! I think the American culture makes us believe that working is how one ought to spend their life and work is our purpose. It is hard to have goals to travel instead of get settled in a 40 year career path in a culture that undermines this. I could live my life determined by how society thinks its "correct," but will that bring me happiness? Maybe. Maybe not.
2. How do I continue to be a worldly citizen?
Being a "citizen of the world" is easy while you are traveling. I am exposed to new cultures and I am so open to exploring and trying new things. Then I come home to America and I become spoiled with my hot water and air conditioning almost instantly, forgetting about being environmentally friendly, conscious of how I eat, how I spend my money, and how I treat other people. Being at home, I have loads of lovely conveniences like a car to drive, clean drinking water from the tap, and reliable electricity. I think one of the best things about living abroad for a period of time, especially in a 2nd or 3rd world country is you learn to live much more simply. You learn to live and make do with what you have, AND be happy about it. It is frustrating to return home and see how people live here with no appreciation. And then the even more saddening thing is when I forget and become spoiled and unappreciative again myself. Remembering the beautiful people of the countries I've visited and how they lived, helps me remember that I don't need much myself either. Being a world citizen means being mindful of how I live at home is not how the majority of the world lives. And being grateful for everything.
3. How do I reconnect with friends and family?
Explaining my experiences abroad to friends and family, who may have never travelled outside the country before is hard. People don't understand the appeal of going to a country that is poor or undeveloped. I try to paint a picture of what I saw and it just isn't the same. But that does not mean I don't stop trying and trying to communicate my passion for travel. Like I mentioned before, in our society people do not understand my passion for travel. They like their routined, comfortable lives how they are and traveling sounds like a lot of work and a lot of money. There is nothing wrong with that, but it just ins't for me. I would rather see every continent on the planet before settling down with a routine life. I try to explain this to my friends and family. I think having respect for different lifestyles and accepting them without judgement is the best approach. Of course nobody wants to only hear me talk about me relating experiences back to "when I was here" or "In Nicaragua it was like this," constantly, but I try to keep my memories alive and share with my friends and family as well as continue living my life in the present with my friends and family. Making new memories and connections constantly is how we truly live.
4. How do I leave again?
Now this is always the part that is kind of freaky. Planning the next trip always is a leap of faith and requires a ton of planning. I repeat, a ton of planning. For my next trip I am planning to go to South East Asia (Thailand, and Indonesia, probably some other countries in there too). It is a huge undertaking to go literally to the opposite side of the world. I think the frustrating part is that we bust our asses trying to find jobs to make money and settle in once come back from a trip abroad, so to leave again in just a few months seems crazy. Then when I get home from that trip, I will have to start at this whole process again. So yeah, it is a bit scary. I am still working out and trying to figure out how I can travel and make it sustainable on my wallet and how I can possibly work abroad. Luckily, there are a lot of resources out there to help make that dream a reality. I am really excited for Asia, and we are still in the planning stage, but I know it will happen. I am so excited for my life ahead.
For continued updates, I want to figure out how to add a button so that people can get email notifications when I post a new blog. If any squarespace geniuses are out there reading this, maybe you can help me figure out how to do that :)
Until next time,
Meagan
The beautiful Nicaraguan coastline, near San Juan Del Sur.
Closer look: Ahimsa <3
The Yama's and Niyama'sare sort of like commandments that yogis follow. Instead of "do-nots" the yama's and niyama's are more of like guidelines which you should do! Without getting into too much detail about all of them, Ahimsa is the first Yama.
Ahimsa (Sanskrit: अहिंसा; IAST: ahiṃsā, Pāli: avihiṃsā) is a term meaning 'not to injure' and 'compassion'. The word is derived from the Sanskrit root hiṃs – to strike; hiṃsā is injury or harm, a-hiṃsā is the opposite of this, i.e. cause no injury, do no harm.
As human beings, there are many many ways in which we can practice Ahimsa! Physical ahimsa may be more self explanatory to practice (don't go around punching people, right?!) but emotional ahimsa can be a little more complicated. Below are some ways that you can improve your inner peace and relational peace by using the concept of ahimsa from an emotional standpoint.
To ourselves: Being a positive person is probably one of the best ways to practice ahimsa towards yourself. Choosing to be happy is a great start. Our happiness and reality lies within our perspective and if you look at life with a negative lens, everything will be potentially harmful to you! Being happy and giving yourself positive and happy vibes will significantly improve how you view the world around you. We can do this by giving ourselves self-affirmations. Being more aware and in control of our negative thoughts is a great way to be uplifting and peaceful towards yourself rather than harmful. We think because we don't say these things out loud it will not be harmful, but it is so harmful to ourselves. Instead of criticizing yourself, change your inner dialogue to things like, "I believe I can do this," "I look strong and beautiful," or "I am grateful where I am" instead of "I'll never be able to do that," "My stomach is so flabby" or "Things are so irritating right now." Talking to yourself like you are your friend (not your own enemy) is so important for self esteem and self-love. The way I look at, the father you can move away from negativity, which is harmful and toxic, the more you are practicing ahimsa.
To others: Sometimes for me, I can be a jealous person. Straight up just jealous and wishing I could be more like them instead of like myself. I see another person's life and I think so myself "wow I wish I could do that...how can I do that?!," instead of being inspired, uplifted and celebrating another person's success. Practicing ahimsa means to be genuinely happy for other's success and happy moments. This might look like expressing verbally how we are proud of our friends for what they are doing, giving other people affirmations and cheering them on. Being happy for other people is one of the most rewarding things to do sometimes! Think about how great it feels when somebody affirms you! If we are not encouraging our friends and being happy for their successes in life, we are the opposite, which is being harmful! Sometimes saying no words is better than saying something that could be potentially harmful, but at the same time, (this ties back to personal ahimsa), even if you feel jealously or envy towards another person, saying "no" to your own negativity and expressing that you are proud of a friend will help you actually feel it in your heart. Everybody needs encouragement no matter what they are doing or going through in life and offering positivity instead of harmful words or attitude is a great way to practice ahimsa.
Love and Light,
Meagan
Baby Sea Turtles!
Photo Credit: http://www.en.go2sanjuandelsur.com
Last night, we got the chance to release the most adorable itty-bitty baby sea turtles into the pacific ocean. When coming to Central America, I thought it would be an amazing opportunity to be able to do this and I was not disappointed.
I went into the experience with no expectations. I didn't want to be disappointed if there weren't many turtles or we didn't get to see the babies. I wasn't really sure what we would get to do and so I think that's why I was so blown away! At around 7:30 pm, we piled into a truck and took about a 20 min ride on a dirt road to a beach called Playa La Flor, a little south of where we are staying. We got out and waited in the parking lot for a little while and Kit, our host at the retreat center, brought out a basket filled with about 16 baby sea turtles. They were smaller than the palm of my hand and they all had 4 long fins all flailing about trying to move around. They were squirmy little guys! We had to be careful with the light we used to look at them so that we didn't damage the new babies eyes, so we were able to hold a red piece of plastic in front of the flash light I brought so that the light would be more dull. We all snapped some photos of the little guys and held them carefully.
Unfortunately I don't have too many good photos because the lighting was very dim! This one I have from my iPhone :)
After about 15 minutes of 15 girls oohing and ahhing over the cuteness of tiny sea turtles, it was time to release them into the ocean. I was a little nervous doing this, I mean they were so tiny and how could they swim in the GIANT ocean?! We were assured that the babies would be perfectly fine on their own and we headed out to the ocean.
We started walking out onto the beach in the moonlight, and all of a sudden we saw tons of huge rock looking things. WOAH and they moved!! They were for sure not rocks. We discovered THOUSANDS of full grown female turtles that had come onto the beach to dig holes and lay their eggs! The turtles are called "Olive Ridley" turtles and they weight about 45 kilos each! This species of turtles exist in Asia and Africa as well, except in most other places they are very endangered and almost at extinction. Here in Nicaragua they have one of the biggest populations in the world, so we were very lucky to see them. There were thousands of them, I kid you not, and they all were so calm and quiet. We quietly walked around them getting sand flicked on us as the turtles used their fins to dig their nests.
We made our way down to the water and it was time to let our little babies go. I picked up the squirmy little guy and I could tell he was ready. He was born for this! I placed him on the sand and he started moving towards the water and as the water came up, he was swept away and then he was gone. To be so small in such an overwhelmingly huge ocean is crazy to think about, but these babies are blissfully unaware of the dangers out there and just want to get out there and start their life. It's a beautiful thing.
We walked around on the beach in the moonlight looking at all the momma turtles and tried not to disturb them. We also found some eggs that were not buried and the best way to describe them was they looked like little ping pong balls! Sadly, we found an egg that was cracked open and it had a yellow yolk similar to a chicken egg spilling out. Here in Nicaragua, turtle eggs are a delicacy and people steal eggs from the beach to sell them. It is illegal, but they still sell them. During their mating/ laying season, which is about 6 months of the year, thousands of turtles swarm the beach at once and so when the turtles hatch they have power in numbers for more of them to survive. Luckily, Playa La Flor is a remote beach and it is a protected area so the amount of eggs that are stolen here is lessened. Thousands and thousands of eggs are laid every year on this beach, but because of natural reasons, a surprisingly low number actually get the chance to grow and hatch into a full baby turtle, and even less make their way across the beach to the ocean. Hopefully, because of us 16 baby turtles will live to be full grown and come back to that beach to lay their eggs one day.
We said good bye and good luck to the momma turtles and returned back to the big truck to take us back. It was a night I will not forget!
To find out more info about where to go check out this site, https://vianica.com/attraction/25/la-flor-beach-natural-reserve
Love and Light,
Meagan Hurst
Things I couldn't live without in Costa Rica
When I set out to pack and get things together for my trip I looked online for packing lists and what to bring for ages. I found some stuff helpful, but other things I had to learn on my own. This little list is what after being in Costa Rica for about a month now I know I couldn't get by without! I also included links for stuff to amazon to make it easy :)
Go Pro- Like I said in my last post, getting a Go Pro is a GREAT idea for Costa Rica. It is small, compact, offers great resolution, you can take it anywhere including water, get unique POV shots, and they are not that expensive. I got the HERO 4 silver (which has the built in screen- big bonus) for $325 brand new off craigslist! Also, you want to keep a low profile and not carry around big expensive equipment here or you might be targeted. Going swimming? Bring it with you in the ocean instead of leaving it on the beach to get stolen. Also, when backpacking this keeps your bag nice and light!
Vinyl purse- This is great thing to have. I have a knockoff Longchamp tote that is great for travel because it folds up nice and small when it is empty and I can slide it in my backpack. It is water proof (big bonus) and it is sturdy. I throw my 13 in Macbook in there, my go pro, my wallet with money/passport/ credit cards, snacks, my water bottle and a few other things on travel days and it all fits! I even spilled coffee on the outside of it and my things inside stayed dry and the bag looks fine on the outside! Maybe because I got the coffee colored bag that's why :) for $19.99 it is stylish and super functional. I added a button with the link to Amazon below!
Rubber Flip Flops- Okay, these are a MUST HAVE. I wear them basically 24/7. It is so hot you don't want to wear shoes, or even think about socks. You will need a pair of flip flops that can get wet and dry quickly for the beach, pool, and the most important one, showers. I have a pair of thicker strapped Havaiana's and they are good quality and a decent price if you shop around amazon for a cheaper color.
Reusable water bottle- This is a huge one. Costa Rican water is drinkable in most places. Only one place I visited (Santa Teresa in the Nicoya peninsula) I was advised NOT to drink the water. With a reusable water bottle, you can fill up at regular taps and save money on water. I actually prefer to drink bottled water anyway and so at the grocery store you can buy bigger 6 liter containers of water and just fill up from there. It is more earth friendly and cheaper than single serving small water bottles :) I have a nalgene type bottle with a carabeaner attached so I can clip it to anything.
Clothesline- This is incredibly useful for washing clothes on your own and being able to hang them to dry. Also its great for hanging bathing suits and other clothes when they get wet or stinky! The one I have is super thick/ strong elastic and has hooks to hook it on almost anything. Also, with the twisted elastic design you can save space and just tuck a corner of your clothes into the twist and it will hold!
Cheap Sunglasses- Protect your eyes! The sun is more more strong (being closer to the equator) and if you bring an expensive pair most likely you will loose them or break them. So brink a $5 pair and do all the extreme sports you want!
Bug Spray and Anti Itch- This is a huge one. Bug spray can be found here in stores for sure but is a lot more expensive for the american brands or ones with deet. I use OFF! Deep woods with 25% deet. If mosquitos like you, like they like me, you will get eaten alive. For me the bugs were worse at the beach cities than in the central valleys and mountains. Also, when you get bitten, a little hydrocortisone cream will do wonders when you are tormented at night while trying to sleep with a thousand itching bug bites.
No fee credit card- Last but not least, this is my favorite thing I brought. Having a credit card that doesn't charge an international fee is brilliant. At places that do take cards (grocery stores, most restaurants, most tour companies, most transportation companies, some hotels... not usually hostels though) it is really nice to just be able to pay with a card with the same freedom you would at home. With no fee added, you can swipe your card in the local currency and Visa decides the exchange rate, which is basically an up to the minute market rate. So you get the best price as well! Win! I have the Capital One Venture Visa Signature. If you spend 3 grand in the first month you get 40,000 bonus miles which is like $400 that you can spend on travel, cash, or whatever you want!
That is my short list of things I couldn't live without. I think in just about any tropical country all these things would come in handy. Happy Travels!
Please comment on my social media or leave a comment below and tell me what you want to see on my blog!
Love and Light,
Meagan
10 things you learn in Costa Rica
Here I am, in a very quiet hotel on the top floor lounge. This space is an indoor/ outdoor hybrid and so it has open walls to the outside. Hammocks line the perimeter and I can hear bugs chirping and thunder in the distance. 2 weeks ago today, around this same time, I left LAX airport not knowing exactly what to expect.
The amount of things I have learned about this country and about myself in such a short time is crazy. Here are 10 little tidbits that I would love to share with you:
1. Understand nature. If bugs and critters aren't for you, then Costa Rica will be an interesting place. At the moment I am covered in bug bites because apparently bugs really love me. That part isn't so fun. But, I have so many cool critter stories to tell as well. A gecko climbing on the ceiling as I cook dinner. Huge frogs jumping in the road at night. Monkeys playing in the trees. A monkey on a power line and seeing it get shocked... that was sad. The happiest dogs and cats you'll ever see roaming around. A huge crab walking across the road and scaring the crap out of me. Parrots fighting in a mango tree. Sea Turtles floating in the ocean (trying to mate haha). Spotted Dolphins swimming and jumping alongside the boat. An iguana walking across an alley and another bigger one sunning on a rooftop. Tiny hermit crabs crawling across your towel on the beach. The list goes on, and I LOVE IT!
2. Try to speak Spanish. Don't be afraid! From the moment I got on the plane, I was flying with Copa Airlines which is a Central American airline and it hit me fast that my Spanish was not up to par. However, little words like hola, gracias, como estas?, mucho gusto started coming out of my mouth. Here in Costa Rica they speak very formally I've learned. Instead of "de nada" for "your'e welcome" you say "con mucho gusto." "De nada" is like saying it was nothing. "Con mucho gusto" is like saying it was my pleasure. "Usted" is always used instead of "tu" and "ciao" instead of "adios." Also when in doubt, a smile goes a looooong way!
3. Costa Ricans are good people. I have met so many very very nice souls here. People who genuinely want to help you. People who care about their livelihood and businesses. People who go out of their way for you. Everybody helps everybody, that is the Costa Rican culture.
4. PURA VIDA! The saying Pura Vida means Pure Life. It is the Costa Rican way of life most simply put. Pura Vida is said as a greeting to a fellow friend (like whats up!), as a farewell, as a thank you, and as a general slogan for this wonderful country. To the Costa Ricans, pura vida means life is good!
5. Appreciate everything. This is another reason to say pura vida! Costa Rica is not the most wealthy country. Things like hot water (suicide showers scare me, google that shit and be thankful you can pay for gas heated water), toilets you can flush paper down, and paved roads is a major luxury. Things are not convenient or perfect here. You go with the flow and be happy with what you have! This is so different than american culture and I am thankful for the change of pace!
6. Things are always wet, muddy, sandy, and probably that means dirty. My rubber flip flops are my friend. Sand is always in the shower because 99.9% of the time it is also stuck to my feet. And when it rains, it is muddy. Then clothes get muddy, then you hang them up and water drips everywhere. The cycle never ends, and my feet will never be clean. I think I will live. As long as things aren't smelly, then we are good!
7. Learn to do some math. The money here is very different. 500 Costa Rican colones equals about 1 dollar. So, for example 4000 colones equals 8 bucks. It is a little alarming when you pay for something that costs 25,000 colones and then you're like oh wait that is 50 bucks. Whew! I used dollars here at first (yes there are accepted basically everywhere) and you don't always get a good exchange rate because it's always rounded to 500 when the daily exchange rate could be anywhere from 525-535:1. Get colones and have some fun! Plus the money is colorful and has awesome animals on it so why not.
8. Bring a Go Pro! This little camera is awesome. I have the HERO 4 Silver which comes with a built in screen and shoots 2.7 K resolution. This thing is small, pretty indestructible, and water proof! You can take it anywhere, including in the ocean and get some sweet shots and you don't have to worry about leaving valuables on the beach while you swim, which I would not recommend.
9. Keep your eyes open for art. Costa Rica is full of murals, handmade artwork and creativity. It is bursting and thriving with art and beauty. So much authentic, colorful and heartfelt work goes into making these pieces and they bring so much charm to this country.
10. Learn about yourself. Costa Rica is a beautiful country with a much slower pace of life. Be introspective. Figure out what is important to you. Cut out the bull shit. Find what makes you happy and what you want when you return home. For me, I have learned that I love and miss my family, friends and boyfriend more than humanly possible. I have learned that if something does not make me happy, then leave it behind. I have learned I am stronger than I thought. I have learned that my heart is bigger than I thought possible.
This beautiful country has taught me so much in 2 very short weeks. It is incredible how traveling pushes you and challenges you, all in unexpected ways. It is a blessing!
Love and light,
Meagan
Picking the Right Wine (on the Road!)
I am thrilled to feature one of my best friends, Kate Edgecombe as a writer on my blog today. We have been friends for a long time. 9 years to be exact! Kate was recently sharing with me (over a glass of wine of course) her 5-step process for picking out wine when traveling for business or for fun. I hope you enjoy her little tricks of the trade!
A little background on me is I travel for a living. What I do is I am a Traveling Event Planner who works for a Real Estate Education company. I put on 3-day seminars all over the country almost every weekend, so I fly out on Thursdays and fly home on Mondays. If you want to learn how to flip a house, hit me up! But really, I travel 5 days a week and so picking the right wine on the road is an essential! I almost always get a rental car because I pick up snacks for my team and goods for local charities so I am always going to a Grocery Store or Whole Foods (if I am lucky). To spend a few extra minutes going down the wine aisle when I am already at the grocery store is not only convenient, but a benefit to me as well.
I prefer to buy a bottle for the weekend as opposed to just going to the hotel bar and getting glasses because, one I will get a better deal and to be honest my wallet really appreciates the consideration. Two because I will get better quality and better tasting wines. The hotel bar usually only has a few different types and only a couple overpriced brands that are usually not very good. Three because I can regulate how much wine I have. We all know what can happen when we go to a bar and one glass very easily turns into 2-4 when the bar tender keeps topping off your glass! And then you wake up with a hangover because it was cheap wine to begin with, which I try to avoid at all costs. Lastly, four because I think it is more fun to have a glass of wine in my room and get caught up on my Netflix, dive into the book that I am reading or Skype my friends and family than it is to sit alone or with coworkers at a hotel bar. Not that I like to be a loner but the ones I really like are more than likely watching Netflix with me anyway!
So lets dive right into how I pick out my wine.
The first step is I go to the section of wine that I like. For these hot summer months for reds I like Pinot Noir (because it’s nice and light for being a red) or Merlot (because it almost always is made with cherries and for anyone that knows me they know I am obsessed with cherry anything including my wines). For whites I like Sauvignon Blanc (because of its light crisp taste and I feel like it has less tannins than Pinot Grigio so it doesn’t leave your mouth as dry) or any type of French Rosé (which always is going to throw my second step out the window but I still put it in there since it is my absolute favorite, in case anyone was wondering.) But whatever type is your preferred choice my traveling strategies will work for you as well.
The second step is I go to my price range. Which is different for everyone of course. But my philosophy on this is I'm okay spending up to a couple dollars more for a bottle than I would for a glass of wine at a bar. After all, you're getting a whole bottle instead of a single glass! A glass of wine at a bar is usually anywhere from $6-$12. For example the bottom shelf of the grocery store are usually wines that cost anywhere from $5-$9. Since I worked so hard to graduate college and have a job now I feel like I can afford a little bit better than that! During college it was bottom shelf all the way! My palate prefers the third shelf from the bottom which is the $20-$40 bottles but my budget still wants the bottom shelf, so I typically settle for the second shelf which is generally $9-$18. I like to stay in the $10-$14 range.
The third step. I like to keep my wino habits on the “DL” meaning I don't like to feel the judging eye of the front desk agent when I ask them for a wine opener as I have a whole bottle of wine in my hand by myself...oops! Plus, its not really practical, or legal, to fly with a corkscrew! So, at the store I look at all the wines that have a twist top. Which is actually increasingly more and more. Side note: I was also recently watching these YouTube videos of how to open a bottle of wine without a corkscrew and some of the ways were super creative. My favorite was using a man’s dress shoe as a wedge and banging it against the wall, however I would not recommend any of these alternative methods since I haven't tried any myself. Just make it easy and stick to the twist off top when you are traveling.
The fourth step. Out of the twist tops, I take a look at the regions of where the wine is being made. I'm a California girl born and raised so I prefer California wines from Santa Barbara County all the way up to the Napa/ Sonoma Valley, since I have had the most experience with trying these wines. I have been to a lot of the vineyards up the coastline of California and something about actually seeing and feeling where the grapes come from makes me appreciate the wine a little more. As well as the climate from central to northern California makes for some great grape growing weather. (Try to say that 5 times fast.) If there are no California wines, which is typical if you are in a smaller town (and a lot of the times this is where I end up on my travels), then I either do one of two things: one, see if there are any recognizable brands that I have tried before (I like Yellowtail or Barefoot) , or two I will always try a chance on a local brand which is fun. If there are two that I want I'll do an analysis based on cost or ingredients I prefer. (Or just buy both if I want to share with some friends ☺) Side note: If you are sensitive to headaches, stay away from nitrates and try to find organic wine!
The fifth step: Go back to your hotel and ask the bar tender for a wine glass. My favorite kind are bigger ones compared to those dinky room service sized ones. They won’t usually give you the big ones but a couple of times I have gotten lucky because I asked super nicely. I have a bad pet peeve of not liking to drink wine but in a wine glass something about it just doesn't taste the same to me. (I’m letting my wino show again.) And then the best part…ENJOY! Take time to enjoy and wind down at the end of your day whether you are on business or traveling for pleasure. If you are in a hotel, maybe take a nice bubble bath, go up to the roof or on the balcony, or just snuggle up in bed with a good movie or Netflix! We all deserve a little vino at the end of the day. I hope my tips help you on wherever your travels take you next. ~CHEERS
Becoming a better person, yogi style.
Ohhh Scorpion Pose. How I love you, and how I hate you.
This pose does not come easily, actually it is really really hard. Do not let the picture fool you. Sure, I have a smile on my face, but this took months and months of figuring out how to balance all my weight on my forearms with my feet straight up. Then once I felt stable enough there, I had to figure out the balance again for lowering my feet down, then work at the flexibility for my back to bend that much, all while remembering to breathe and tighten certain muscles, while relaxing other muscles. Strength and flexibility. All at the same time. Did I mention you have to breathe?!
Many people think that Yoga makes you to do all these "tricks" that feel like circus acts and its supposed to make you a stronger and better person. Seems like rubbish. Well, yes it is rubbish to believe that you will be a better person for fully achieving a certain pose. We foolishly start believing that we will have achieved greatness, that we have "won" the yogi-race once we touch your toes to our ballerina buns. Well, no....You won't be any better of a person after a difficult pose than you were before the pose. You will just be able to do the pose. Cool.
Is the motivation to do the pose come from the ego? Oooh, dig deep and really ask yourself that. Be humble enough to admit it. A lot of times that is where my motivation comes from. Any every time that is my motivation, I fail. Usually pretty miserably.
OR does your motivation come from wanting to challenge yourself, dive into the exploration of yourself, your personal growth and journey, and your true potential? Even if it means you will never achieve the crazy fad of "butt to bun" (if you follow the yoga community on instagram you know what I am talking about.)
The true Yoga lies in what the pose teaches you about YOU! Yoga poses, or Asanas, were designed thousands of years ago to be a tool to link our body, mind and soul together in union. The word "Yoga" is a Sanskrit word meaning to yoke or bring together. When our entire being is all in sync and united together, we are able to find more peace in our lives. Yogis do not get upset about not being able to perform certain asanas, but rather stay with the journey and learn from it. Yoga is a peaceful journey of inner discovery, not a forceful or aggressive way to contort your body. It doesn't matter what the end result of a pose looks like, because remember, it doesn't make you a better person anyway. It doesn't even make you that cool.
This doesn't mean that because the end result doesn't matter we should try. Instead, we keep practicing and growing the mind, body and soul exponentially. One definition of yoga I recently came across was "the understanding of the self as an expression of unlimited possibility." I just love that.
If we are in a difficult balancing pose the body says, "this is so hard I don't know if I can do it." The mind then needs to say, "yes you can do it, and we will be calm and steady together." We might stumble or fall a little bit. That's okay. Then, one asana at a time you are letting outside distractions fade away. Letting stress melt away. Dedicating your Yoga space to the present moment of what you are feeling in your body and mind. Building your physical and mental strength. Then 3 years from now the pose that was difficult is pretty easy now, and we have more difficulties ahead. And what a wonderful thing that is. Our bodies, our minds, our souls: an expression of unlimited possibility.
So, that doesn't mean that the person next to you, who is maybe in dolphin pose (a prep pose for scorpion) is less of a yogi, or human being, than you are. Hell no, you are not better than anyone else. Even if a person had a very limited physical body from age or injury they could not do yoga, it would be just as perfect as anyone else's yoga. Remember Shavasana, lying flat on your back, is yoga. Everyone is on a separate journey, in a separate body, working with separate issues than you. The key to being a better person is being constantly better than yourself.
Love and Light,
Meagan
Surya Namaska...uhhhh?
Hello friends!
So, I very often hear these things come out of people's mouths:
- I want to start yoga but I don't know how.
- I feel so out of shape I can't do yoga.
- Yoga looks really hard.
- or, occasionally, Yoga looks too easy.
Well, I thought I would share a little tutorial on how to get your booty on the yoga mat and how to build some strength and flexibility for complete beginners! It is easy! But it is also not easy... You will see what I mean :)
When I started yoga I had very little patience and all I could think about how uncomfortable Downward-facing Dog was (if you don't know what that is yet, don't worry) and I would just get annoyed when the teacher reminded us Down Dog was a resting pose. "Great, thanks" I thought.
A few years later, I love Down Dog, but I didn't get there overnight. Mostly with the help of Sun Salutations I have found peace and comfort in Down Dog and many other poses. I have built a lot more strength in my shoulders, back, arms, legs and core, as well as gained more vital spinal and hamstring flexibility just through Sun Salutations. Overall, it is a fantastic cardio workout, will build strength, and improve your flexibility. it is a perfect place to start!
So, for this post, I am going to walk you through a simple and foundational sequence called Surya Namaskar A (say it exactly how it is spelled) or Sun Salutation A!
Traditionally, the Sun Salutation was performed at sunrise to pay gratitude to the sun, the source of all life on our planet! This ancient sequence is how most yogis start every yoga practice. Sun Salutations warm up the body, establish a rhythm of breath, and helps to center the equanimous yogi mind. I usually do about 12 of these when I start my own practice.
Lets get started! Pay attention to the breathing pattern. If you lose the breath you loose most of the work that yoga is doing in your body.
Notice the Sun in the picture helping us out :) Not planned at all.. :P
Pranamasana or Tadasana: Start by standing tall with your feet together. Your hands can come to prayer at your heart or rest by your sides. Rotate your shoulders back and let your chest expand open. Suck in your core muscles and don't forget about keeping your legs and glutes slightly contracted. Inhale and exhale here for as long as you need to calm your mind.
Ardha Uttanasana: Next, inhale hinging from your hips dive down with a flat back and look forward. Your hands or fingertips might come to the floor, your shins, or your quads. Avoid putting your hands on your knees though. Reach and open the chest forward and feel your spine and the backs of your legs lengthen. Hollow out your lower belly.
Uttanasana: Next, exhale and fold forward completely rounding your spine. Hang upside-down here and relax. You should feel a good counter stretch by rounding your spine and still be feeling a good stretch in the backs of your legs. You can use your arms to pull you closer inward and don't forget to suck in and hollow out the lower belly to find more space to fold deeper.
Ardha Uttanasana again: Inhale again and lift your chest up one more time and prepare for plank pose! This is just a transition to open your chest again for plank.
Dandasana: Now, exhale, keeping your chest lifted, bend your knees, ground all four corners of your hands into the mat and step back one foot at a time into plank pose (do this all on one exhale!) You should be on the balls of your feet, engage your legs and zip them up together, pulling upward through your inner thighs. Keep a neutral spine and your booty down. Engage your core! Puff the space between your shoulder blades out and pull your biceps forward. Keep your neck neutral and gently look down. Breathe here and take a few inhales and exhales build that strength!
Modify: If you need to, lower your knees to the floor! If you cannot hold good form you are doing more harm. Modify until you build the strength needed!
Chaturanga Dandasana: Next, the hardest part in my opinion, low plank pose or chaturanga dandasana! Exhale leaning your chest forward a tiny bit past your wrists, keep your abs strong, your legs and glutes tight and in a straight line, and your elbows in (super important) lower your body slooowly so that your elbows are exactly over your wrists. Gaze down gently and breathe. Try to hold here!
Modify: If you lowered your knees in plank pose, its a good idea to also lower with your knees down but with the same form as explained above. I did this for many, many, many months :)
Advanced: From Ardha Uttanasana, jump back with both feet at the same time, LANDING IN CHATURANGA. That is important so that you don't break your elbows someday...
Urdhva Mukha Svanasana: Oooooh now a favorite part of mine, Upward-facing dog! This feels good and will be a yummy spinal stretch. From chaturanga, inhale and without letting your body touch the mat in any other areas except your hands and feet, lift up with your chest and straighten your arms. Your shoulders should be in line with your wrists. Flip your feet over, only letting the tops of your feet and your hands touch the mat. Zip up your legs and pull your inner thighs upward but keep your glutes a little soft. Press the tailbone back towards your feet and your public bone towards your belly button. Use the lower abs here. Firm the shoulder blades against the back and move your elbow creases and biceps forward, puff your side ribs forward and lift through your chest. Gaze up and smile :) This should feel good on your back. If not, modify!
Modify: Bhujangasana: From chaturanga, come down to your belly softly and release your toes to come onto the tops of your feet. Put your hands under your shoulders and lift your chest up, using little to no help of your hands to lift you up. Gaze up and smile too! This is called cobra pose! If your lower back is not very flexible this is great for you.
Adho Mukha Svanasana: Next, prep for Downward-facing Dog. Use your CORE muscles and lift your hips up and back rolling over your toes and exhale slowly (or just step to the soles of your feet one at a time). Lengthen your spine, ahhhhh feels good after Up Dog! Reach down with your heels, its okay if your heels don't touch the mat and if your knees bend a little or a lot. My heels for sure don't touch! Lift up and back with your sit bones, firm your shoulder blades into your back and find space between your shoulder blades. Press firmly into your hands and again bring the creases of your elbows and your biceps to point forward. Relax the neck and let your head hang heavy. Ahhhh.
A lot of people, including myself once upon a time, complain about wrist pain here. First, make sure your palms are completely flat, your fingers spread, and all four corners of your palms pressing down, paying extra attention to the space between your thumb and index fingers and your index knuckle. Use the strength in your forearm muscles here too. Secondly, if you don't do yoga or for any reason spend a lot of your time bearing weight on your wrists, they are probably just weak. If you keep practicing and keep good form in your hands, your wrists will get stronger.
Keep breathing and relax. This is a "resting" pose remember? :P
Almost done! Look up and shift your weight forward. Step one foot at a time to the front of your mat and reach forward with your chest and come to stand with a flat back. Move slowly.
Advanced: Hop with both feet, float, fly forward! Right now my practice is somewhere almost to floating-ish.... If you are real fancy, pike up into a handstand and come down ever so slowly. Someday....
Tadasana again: Or like I think of it, TA DA! You did it! Reaaaach your arms up, maybe take a slight back bend and smile! First Surya Namaskar A done! Bring your hands to heart center and do it all again :)
Pick up the pace and use one breath per movement to build more heat, or stay and hold each movement for up to 10 breathes to feel the poses deeply.
In most practices you would do this sequence about a dozen times to warm up the entire body. On special occasions yogis will do 108 Sun Salutations as 108 is a very lucky and meaningful number for many reasons in the yoga world. Maybe that will be another blog topic someday :)
Happy yoga-ing and if you have questions please comment or email me!
Love and Light,
Meagan
Ps- My outfit is by Cory Vines! The leggings are simple, but get the job done! They are high waisted so everything stays in place, and are longer length which is perfect because I like to pull them over my heels :) And the top has good coverage on the chest, is really lightweight, drys quick, has cute detailing! I only would recommend brands that I personally like and Cory Vines is really affordable. Score. www.CoryVines.com :)
Chocolate peanut butter milkshake...healthy?!
Hello wonderful friends!
I am still pretty new to this whole blogging thing and I want to keep it fun and true to myself :) One thing I absolutely love doing in the mornings is making a smoothie. I usually like to make a fruity green smoothie, but with these pretty simple ingredients around the house, I have been making this one pretty often too. It is packed with protein, which is important if you like to work out, and it really fills me up until lunch without getting that mid morning hunger! My chocolate peanut butter milkshake seriously tastes like dessert for breakfast :P If you are obsessed with chocolate and peanut butter as much as I am, your'e gonna love it.
Also, I think it is interesting to learn as much about the food that we eat as we can! I decided to do more research into what these ingredients had to offer and I was pleasantly surprised to find that many of them have digestive/ immune system benefits!
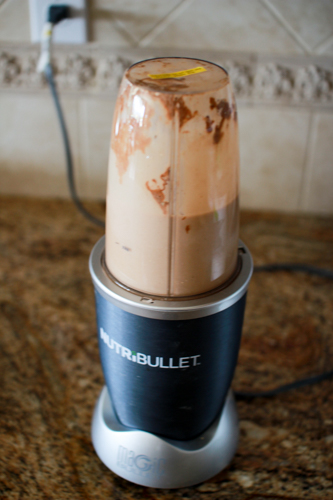
I use a NutriBullet, which is easy for clean up, gives you a good portion sized container to drink out of, and its really powerful to blend your milkshake or smoothie really smooth!
The best thing about smoothies is that you grab a bunch of stuff, throw it in the blender in any order you want, then mix it up! I'm horrible at cooking and measuring and following recipes so woooooo! This is my kind of "cooking" :P
So throw this stuff in:
1. 2 scoops of Orgain, Organic vegan protein powder creamy chocolate fudge flavor.
I think we got this from Costco. It has a really rich chocolate-y flavor and easily dissolves and doesn't taste powder-y and gross. Also, it is all plant based organic protein! 21 grams of protein and 3 grams of net carbs. AND its vegan. Score. Check out www.orgain.com for more nutrition facts.
2. One banana
I love bananas!! Bonus if your banana is getting a little brown and old- it makes it sweeter! If your bananas are getting old, peel them and stick them in the freezer. When you toss your banana in your smoothie it will make it cold without ice! Bananas are a base for all my smoothies because it makes it creamy and it has a neutral flavor that goes good with anything. Also, among the countless benefits of bananas, did you know bananas act as a prebiotic, stimulating the growth of friendly bacteria in the bowel. They also produce digestive enzymes to assist in absorbing nutrients.
3. 2 Tbsps of PB2, Peanut Butter powder
I like this stuff because it is healthier than normal peanut butter because the freshly roasted peanuts are pressed to remove 85% of the fat and calories. Also, I don't know about you but trying to scoop peanut butter into a smoothie is usually a huge mess and it thickens the smoothie a ton, which I don't like.
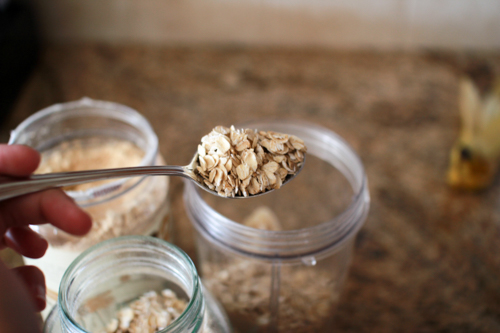
4. 3 or 4 Tbsps of Old Fashioned Oats or Rolled Oats, or whatever oats you want.
Adding the oats gives the smoothie thickens it up just enough, will blend smooth, and guess what... more protein!!
Also... Did you know, that oatmeal helps immune response to infection? In laboratory studies reported in Surgery, beta-glucan significantly enhanced the human immune system's response to bacterial infection. Beta-glucan not only helps neutrophils (the most abundant type of non-specific immune cell) navigate to the site of an infection more quickly, it also enhances their ability to eliminate the bacteria they find there.
According to study leader Jonathan Reichner of the Department of Surgery at Rhode Island Hospital and Brown University, priming neutrophils with beta-glucan helps these immune defenders quickly locate the bacterial mother lode within infected tissue. And this more rapid response to infection results in faster microbial clearance and healing. Since our non-specific immune defenses are the body's first strike forces against invading pathogens, starting your day with oatmeal may boost your immune response in addition to your morning energy levels. -whfoods.com
5. Almond Milk or Fat Free milk
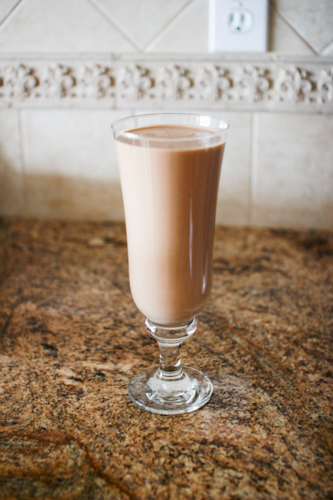
Fill up your blender with your choice of milk until all the ingredients are submerged and them some. If you are lactose intolerant then almond milk is the way to go in my opinion. Do your digestive system a favor and go for the almond milk! I used almond milk because it is sweeter and it is what I had around so I used it. I filled mine up to the max line on the NutriBullet cup. I like my smoothies a little thinner and more drinkable but you can play with the consistency by adding less milk!
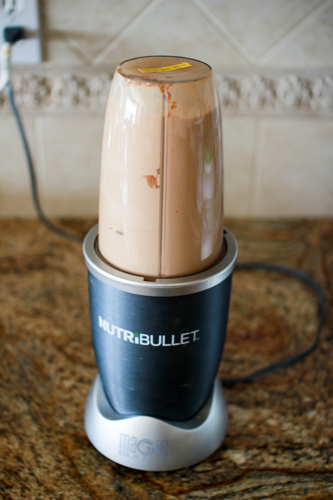
6. Next, just blend it all up until smooth! You might have to stop it and shake it up a little bit to get all the powder to mix in. Really, you can't go wrong blending this smoothie for too long. I like mine really creamy and smooth!
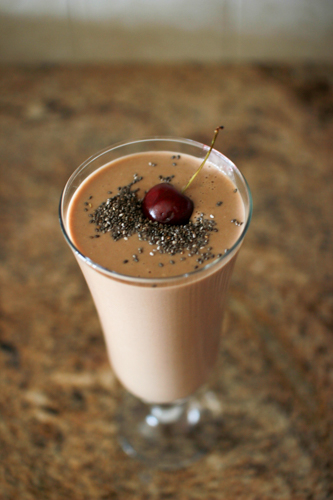
7. Add 1 big Tbsp of chia seeds as YES another protein source! Stir them in and you won't hardly notice they are there, but you will notice the energy these little guys pack! It's the perfect addition, because it has no flavor of its own. Chia seeds are one of natures’ true super-foods. They have more calcium by weight than milk, more magnesium than broccoli and are packed with the same protein found in meat. They also are a good source of Omega 3 healthy oil and fiber to help your digestive health.
So, there you have it! I added a little fresh cherry on top because that is what they do in a restaurant right? Cherry and whip cream! Just pretend your Chia seeds are whip cream :P I hope that this yummy smoothie is easy for you to whip up and you like it as much as I do!
Light and Love,
Meagan
You can shoot film, too!
Film.
What's that?
Well, lets take a little step back in history why don't we :) For people my age, I am 23, film is one of those obscure things that seems cool and hipster-ish, but we don't really know what it is exactly. Maybe we took a film photography class back in High School. I know a lot of people my age who took some of the last true film based photography classes at their schools before everything was switched to digital.
Film is...
“a thin flexible strip of plastic or other material coated with light-sensitive emulsion for exposure in a camera, used to produce photographs or motion pictures.”
Instead of the sensor inside your fancy digital camera, the frame of film sits behind the lens and turns light into an image. That is the very simple explanation. So why should I care about shooting film? It's antiquated. It's confusing. And what do you mean I can't see the picture on the back of the camera right after I took it?!?!? These are all very valid questions, but recently I have fallen in love with film again and here are my top 3 reasons WHY before I get to the HOW.
1. Better dynamic range.
The best way I can explain dynamic range to a person in the digital age is by using an iPhone. iPhone's have great cameras, don't get me wrong, but have you ever tried taking a photo in a very bright or very dark environment? You touch the subject area of the frame to get it properly focused and exposed and BAM the other areas of the frame are blown out and either way too bright or its super, super dark. That's annoying. With film, it is more sensitive to bright and dark areas AT THE SAME TIME. You can take a picture on film and still see detail in the bright areas and dark areas. Well of course taking pictures on film is not perfect, and a photo will never have the same dynamic range as our own eyeballs, but film does THE BEST job of exposing for high dynamic range than any other medium available.
2. It costs money.
I haven't been 100% honest. Film costs money...for every photo you take that is money. BUT this is important. Photos of yesteryear were so much more magical and were viewed as a work of art, less of a commodity. That's because each frame was well thought out. The composition of the frame, the focus point, the exposure, the story behind the shot. Virtually everything, and that was because each frame cost the photographer something and was not something to be wasted. Sure, film photography is even more expensive now than it used to be, but this teaches us to SLOW down and get better quality over quantity. HOWEVER, I will say that buying a film camera, a good lens, and if you buy reasonable film stock and find a good lab for processing you can make film photography affordable. More on that later.
3. Better color and more character.
That filter that you swipe through on Instagram to add the extra burst of contrast or saturation? Yep, film invented that. The "dust" filters or "light leak" filters you add to your digital pictures on your Afterlight App? Yep, you guessed it, film had it first. Shooting with a digital camera, your pictures become just that. Digital, electronic, and too perfect if you ask me. Digital cameras are limited by their sensors ability to reproduce colors. You also have to worry about white balance, skin tones, and digital files often look washed out. Instead, the layers of chemicals in your roll of film are able to reproduce colors that are evenly saturated and contrasted. And when it comes to character, if your vintage film camera has a light leak you embrace it and it is kinda awesome that it occurred naturally and you don't feel like a doofus for adding a digital light leak to a digital picture.
Now for the fun part! How can you dive into taking photos on film? If you are serious about taking film photos, and you are a complete novice when it comes to the world of photography then I suggest you read up on the basics. This should include what ISO is, what f/stop is, what shutter speed is, how they are all intertwined and work together, as well as some basics on composition. Once you have read about these things, I suggest just diving in and practice, practice, practice! Now I am going to tell you exactly what I did and how I got my gear to shoot film! I am not fancy or anything, this is just works for me!
1. Buy a camera and lens.
I have two film cameras. My first camera is the Canon AE-1. This is the more retro/vintage looking camera that is completely manual, including manual focus on the lens. You can get a perfectly working one on eBay for $75 or less and it will come with an FD mount lens. The awesome part about FD mount lenses is although they are manual, you are likely to get a well made piece of glass that will be very fast (f/1.8 or f/1.4) which is great for low light and shallow depth of field. Similar lenses that are EF mount will cost a pretty penny. Lastly, there definitely is not a shortage on good AE-1 cameras out there as they were one of the most used cameras of the 70's! Maybe even your parents or grandparents will have one laying around!
My other camera, is a Canon Rebel G. I love this camera because it is fully automatic! I can still shoot in Manual mode, which is the only way I recommend how to shoot (maybe I'll write a blog about that later?), but it will load your film for you, wind the film, gives you digital light meter readings, and you can use an EF mount lens with auto focus! The EF mount by Canon is their current lens mount system and therefore you will be able to use any more modern lens with this camera. A good working one will only cost you about $25 on eBay!
I use both cameras, and it honestly just depends on what I am shooting or what mood I am in! I recommend the AE-1 because it truly teaches you the basics of manual photography, but the Rebel G will give you the same film-y feeling without accidentally forgetting to wind your film back up before you try unloading it. Not like that has ever happened to me....
2. Buy film.
Honestly, you can't go wrong. Buy lots of film! Film is film. Buy color, black and white, fast, slow, Kodak, or Fujifilm and just experiment when you are starting out. Once you see what you like, try more expensive types like Illford Delta or the Portra line from Kodak. I like to buy my film off Amazon in bulk because it tends to be cheaper that way.
3. Get it developed.
Pro-tip.... Film is light sensitive. So after you have taken your photos, do everything you can to properly unload the film, put it in the canister, and deliver it to a film lab without the emulsion seeing any more light. Honestly, this isn't that hard, but in this day and age I think that needed to be explained. And yeah, I've ruined a couple rolls by opening the back of my camera when I shouldn't have and over exposing my photos! I am cheap, and I like to just get my photos developed at Costco! Yes, Costco does a good job in my humble opinion and you cannot beat the price anywhere. At $1.20 for processing and 10 cents per print, you are looking at under $20 to develop and print 5 rolls of film. Killer if you ask me. And with all the money you will be saving on buying your camera at under $100 on eBay, you can afford the processing cost.
Below are some of the shots I have taken. I usually take one of my films cameras out when I am doing a "real" clientele shoot to snap a few photos, or with me just for fun. In this case, it was to LACMA, the beach, a flea market, walking around Abbott Kinney Blvd, and camping for the weekend. Film is fun, and you never know what you will get, so why not! Be adventurous!
So, go forth and shoot film. Be happy. Be a true photographer. If you want to hone your photography skills and feel like a true artist, shoot film. Trust me on this one :)
Love and light,
Meagan


